-
Your shopping cart is empty!
MENU
Your shopping cart is empty!
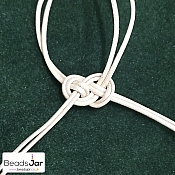
 Take two separate meter lengths of the cord of your choice. Line them up, fold in half, and tie a regular knot at the top. This doesn't need to be too tight as you're going to untie it later. Then separate the four lengths of cord so you've got two Cords on each side. Take the two cords on the left and create a loop. See image below.
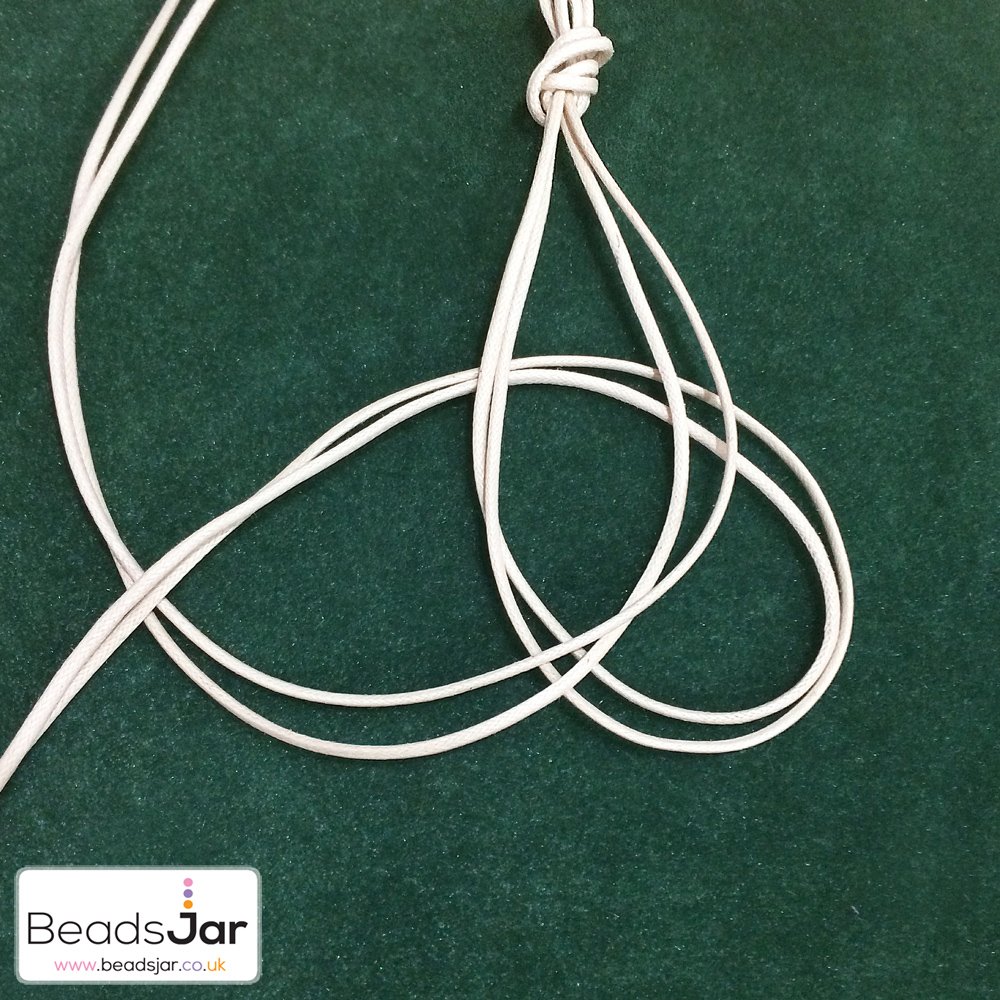 Now take the two cords on the right and place over the loop you just created, then under the cords on the right. See image below.
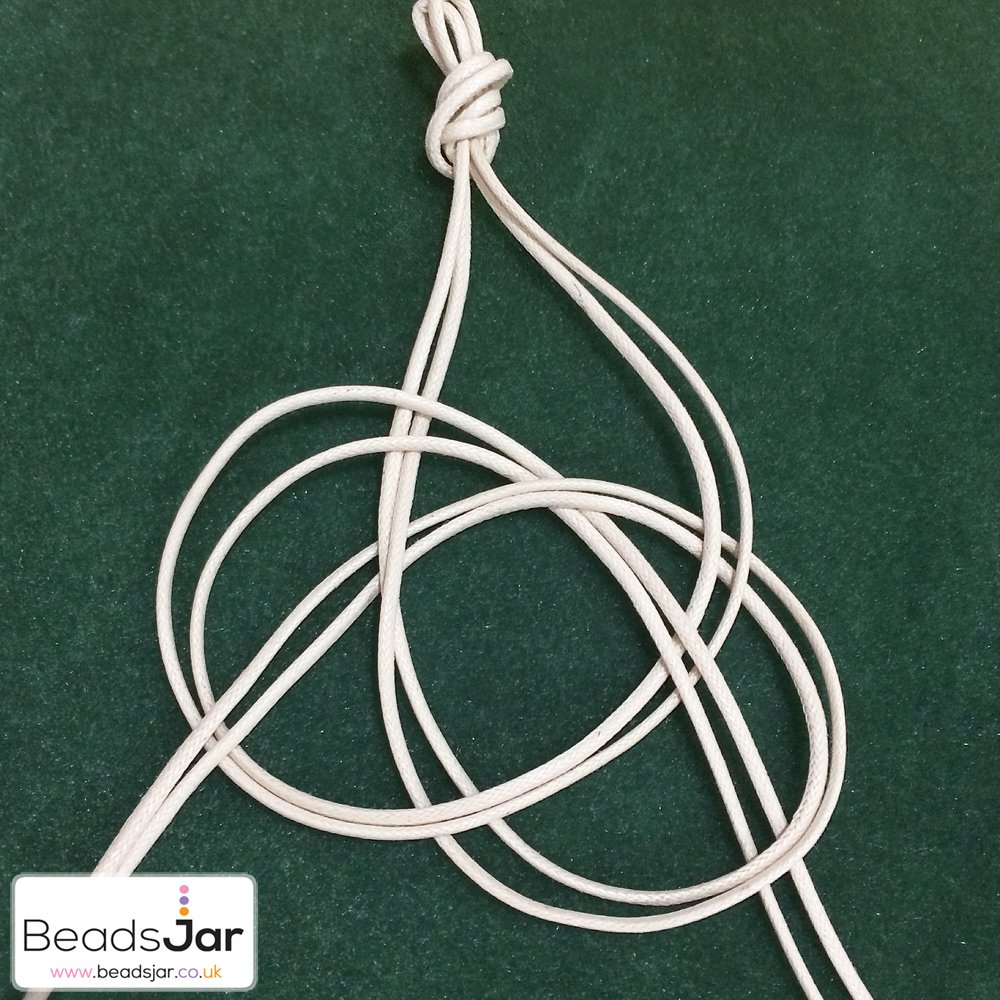 Now for the tricky part (only a bit though)....Take the cords from the right that we just placed under the left and take back over the left, under the center loop, then back out over the right cords crossing the loop then out under the outside of the loop. Phew! Did you get that? Follow the image below.
 Now simply pull the cords tight, being careful to keep them neat and even. This completes your Josephine knot! Incorporate it into necklaces, Bracelets and more. Why not have a go at creating our Josephine Tassel bracelet?
 There are no products to list in this category.