-
Your shopping cart is empty!
MENU
Your shopping cart is empty!


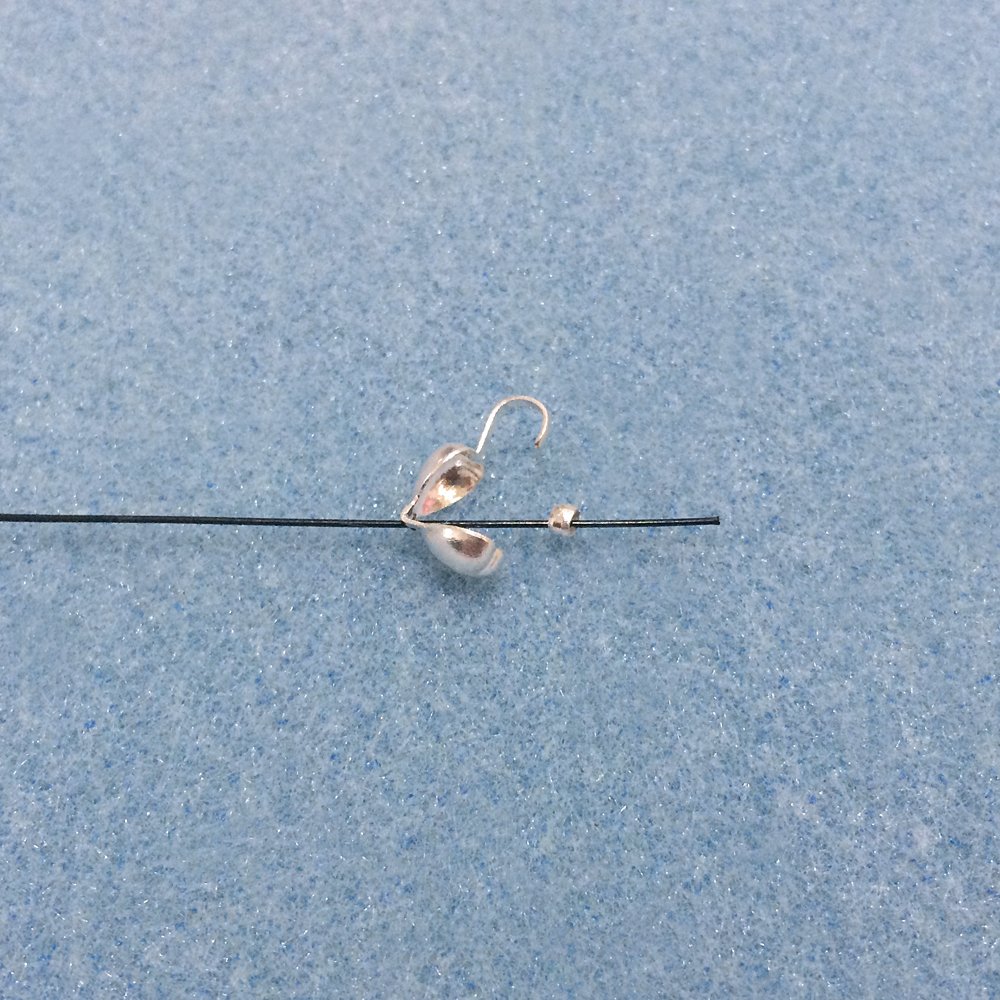 Cut an 18.5 inch length of beading wire and slide on a calotte and a 2mm crimp bead...
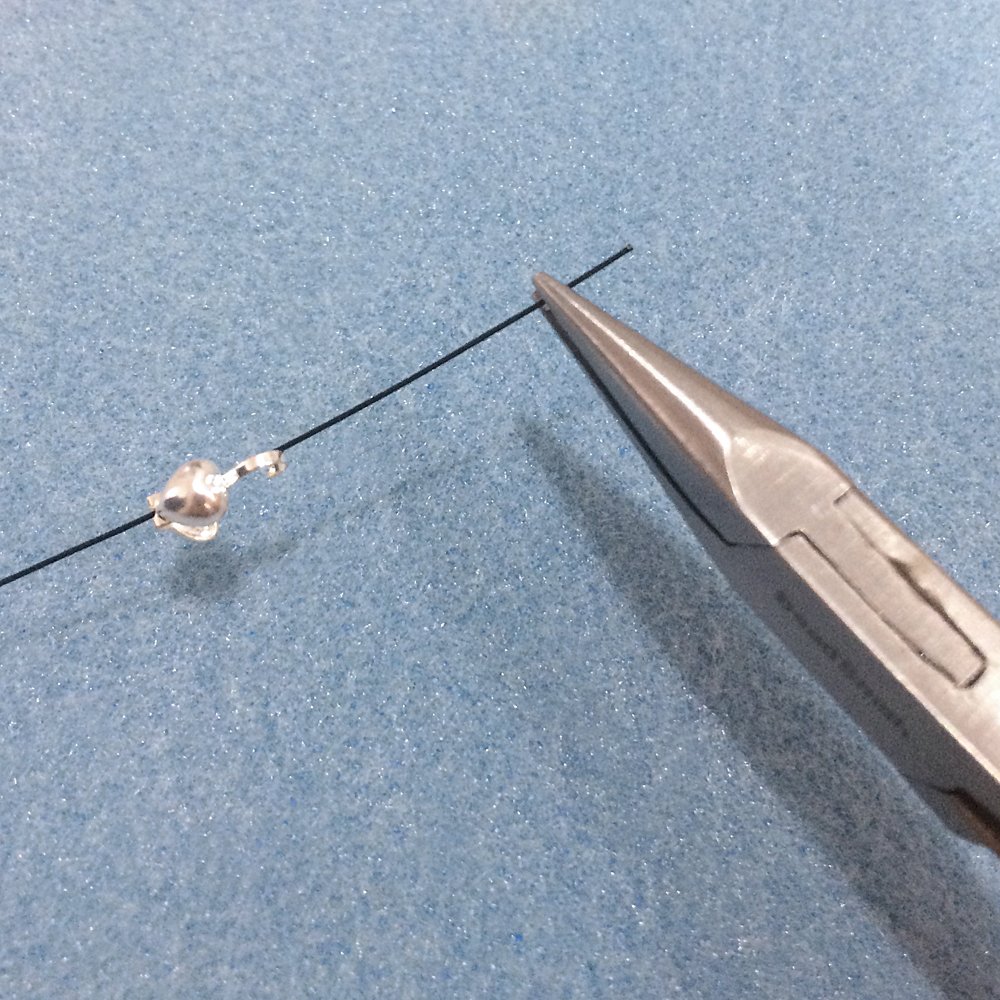 Using chain nose or crimping pliers, crush the crimp bead flat approximately 1cm from the end of the wire. Make sure you squeeze the pliers tight to ensure the crimp is firmly secured onto the wire.
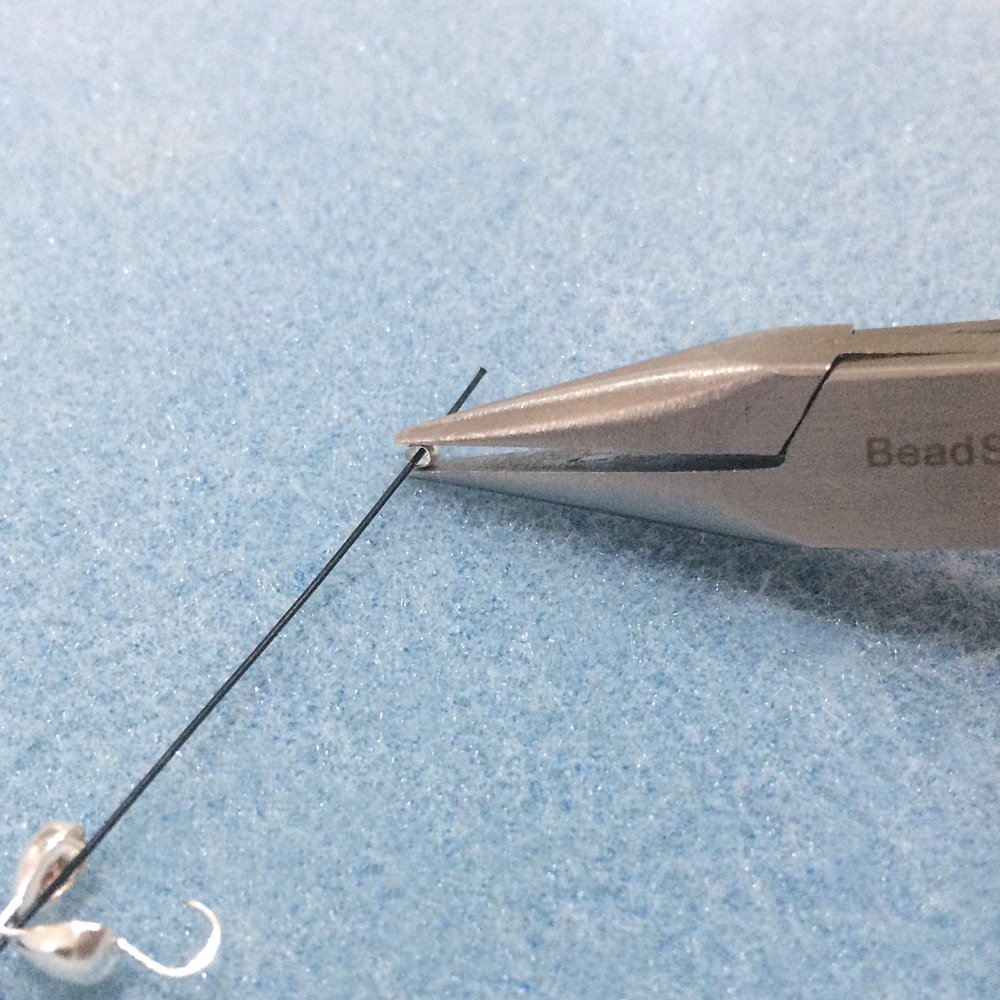
 You should now be looking at this...
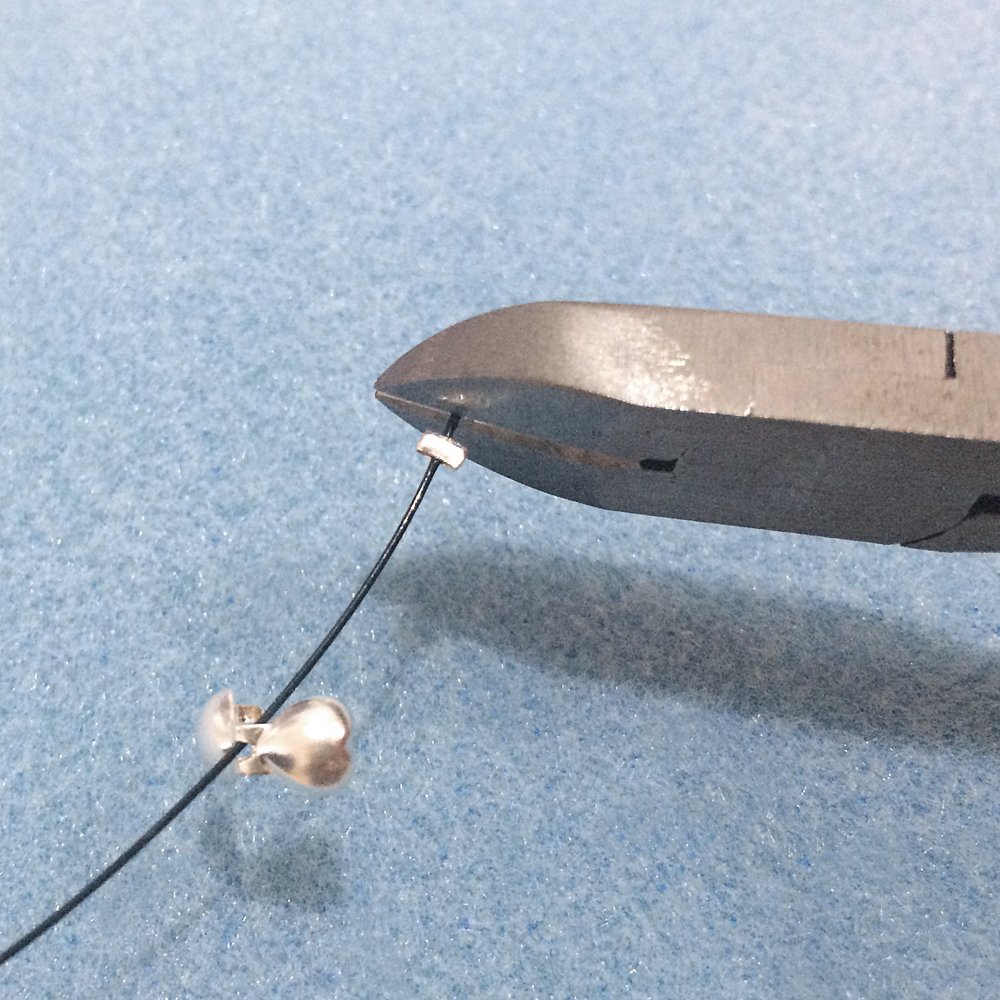 Cut off the excess wire with wire cutters leaving around 1mm of wire on the end.
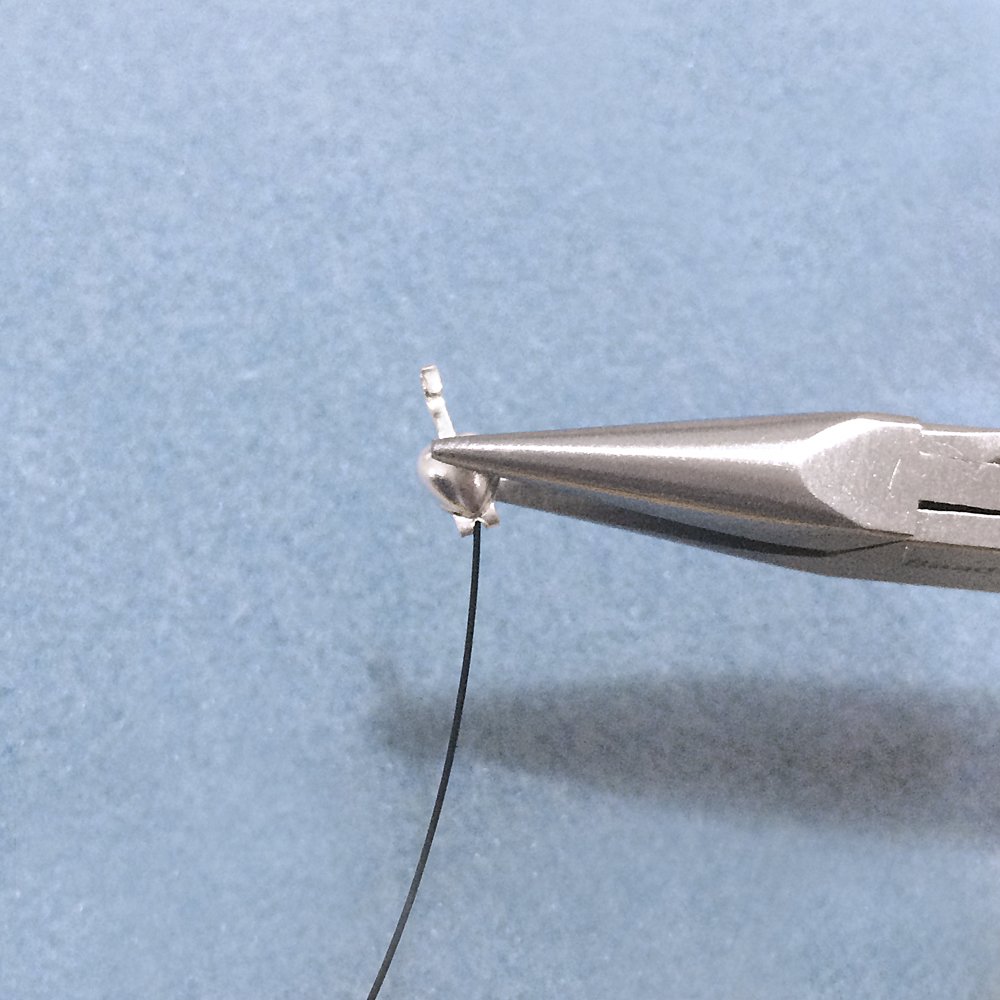 Slide the calotte up the wire to the crimp you just flattened, then squeeze the two sides closed so it covers the crimp. You can do this with your fingers, or you can do it gently with chain nose or flat nose pliers...
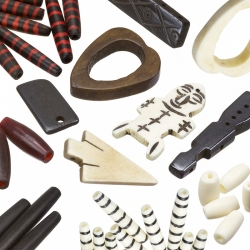
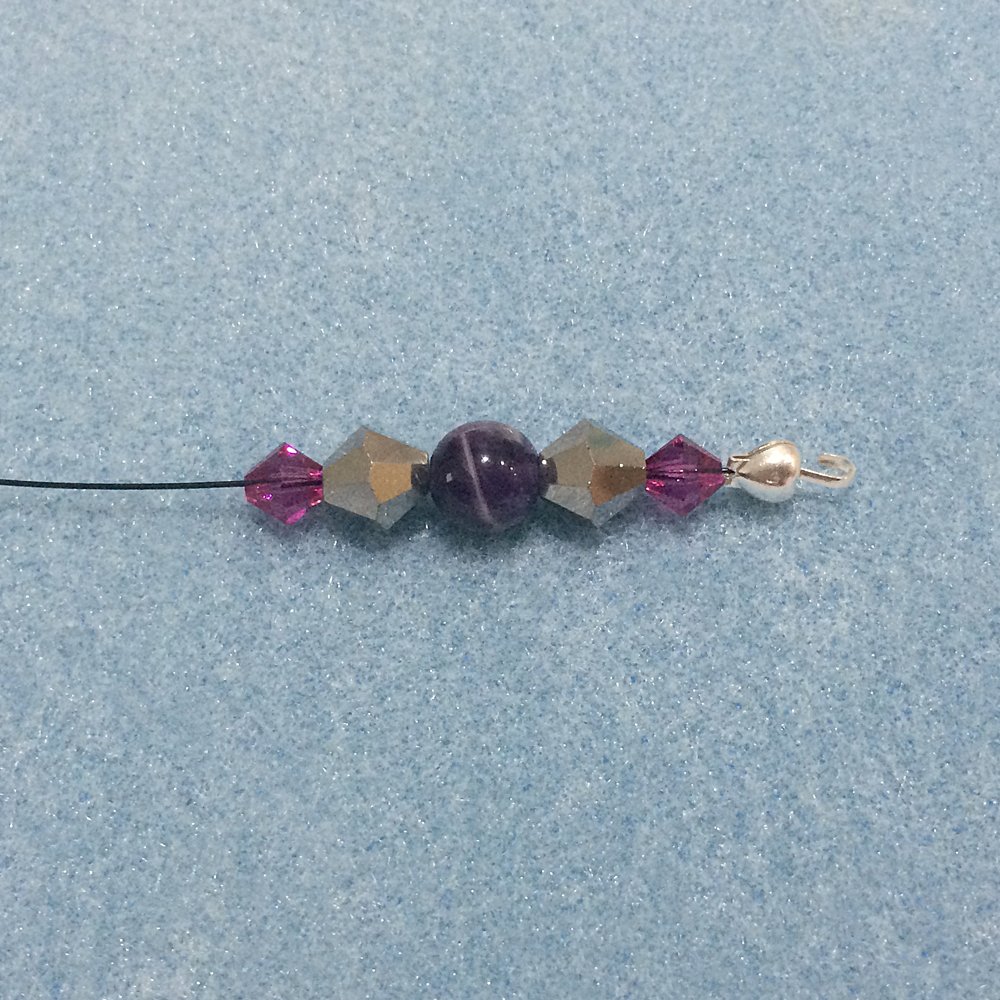 Now you're ready to string the beads onto your wire. You can string them randomly or you can create a pattern like we've done here. Keep stringing your beads until you have approximately 1.5-2cm of wire left.
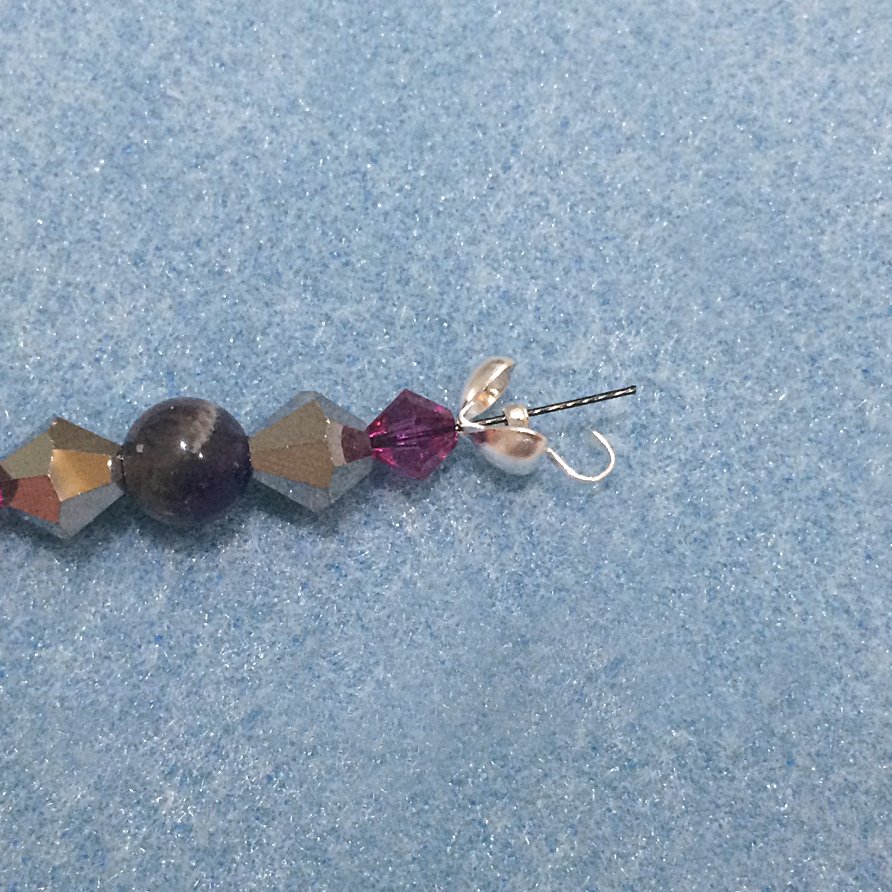 As you did at the start, slide on a calotte then a 2mm crimp bead. Try and get the calotte as close to the last bead as you can, then firmly crush the crimp bead flat with your chain nose pliers as close to the crimp as you can. Trim off any excess wire with wire cutters leaving 1mm of wire at the top.
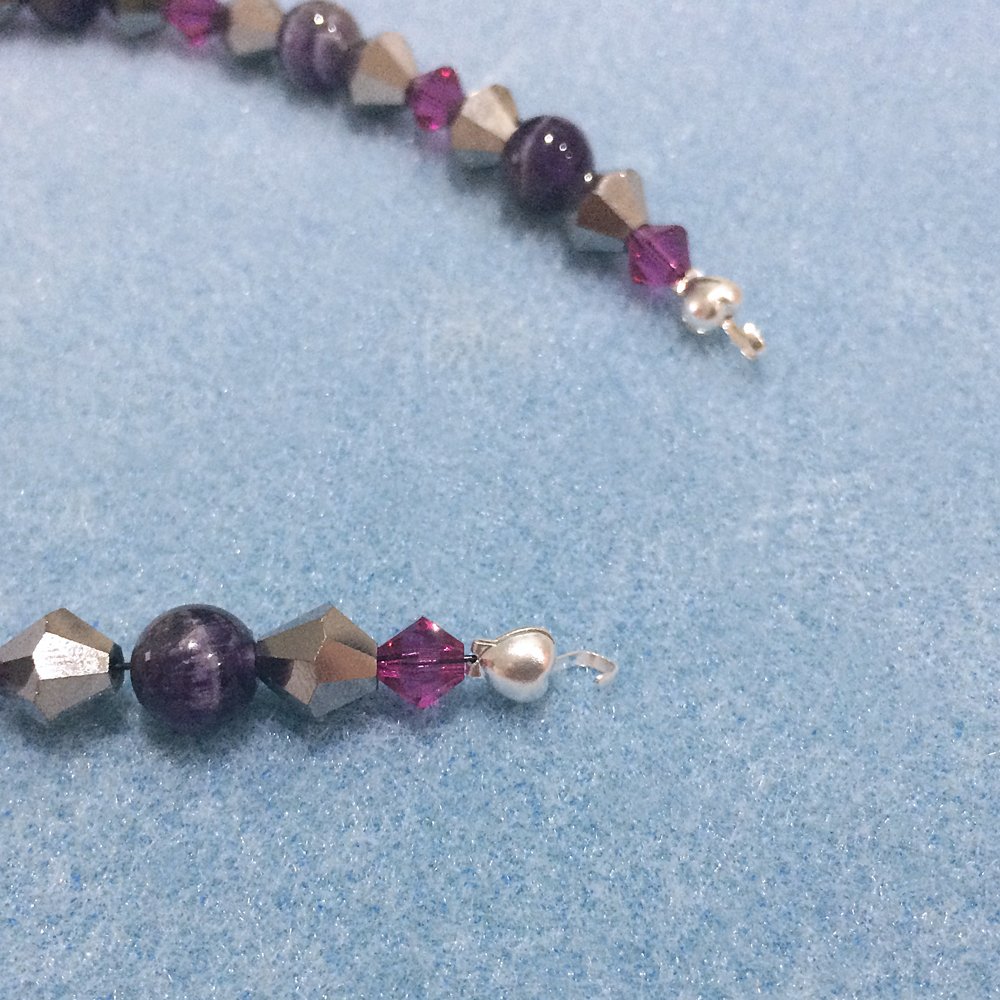 Close the calotte over the crimp using your fingers or chain nose pliers. So now we have a completed necklace with two open loops on either end and we can now go ahead and attach the clasp.
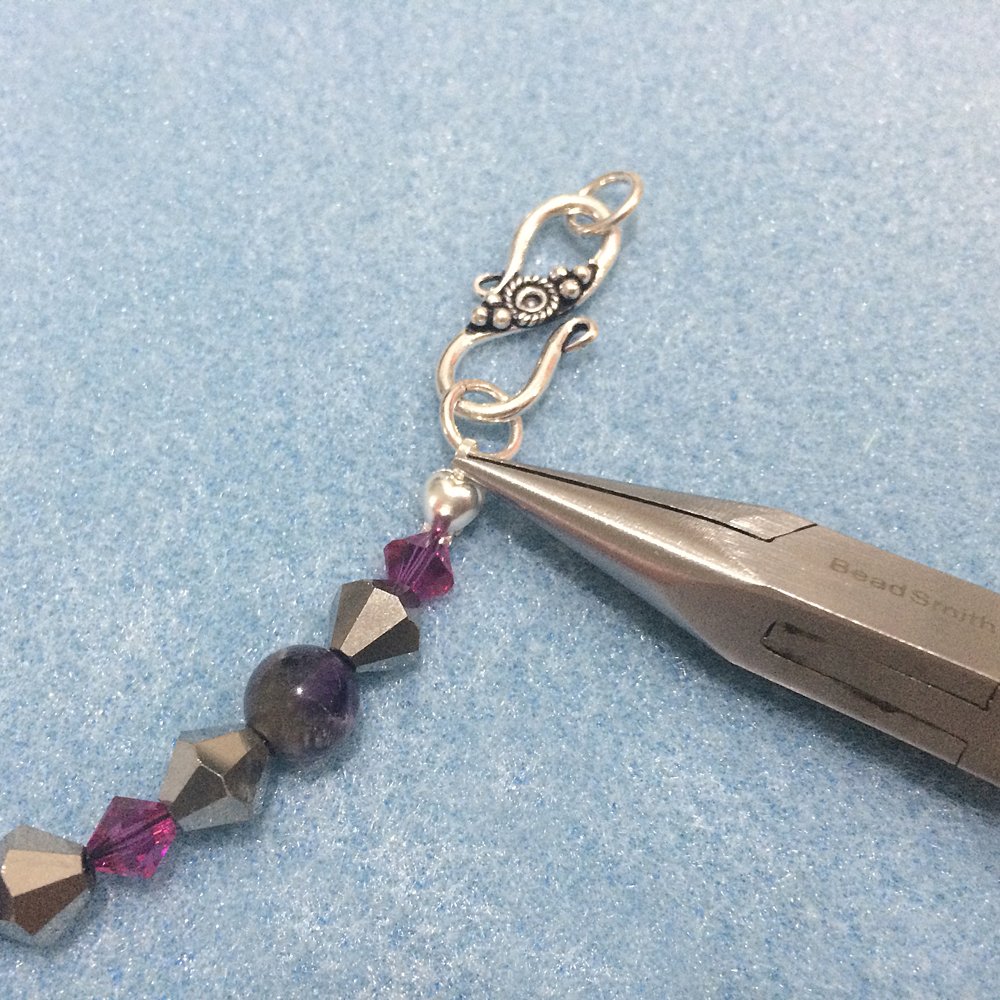 If you're using the S-clasp pictured, simply hook one of the jump rings on one side of the clasp onto the open loop on the calotte. (If you're using a lobster clasp, you will need to attach a jump ring to the loop at the bottom of the clasp by twisting it open, hooking it through then twisting closed. You would then hook the jump ring onto the calotte loop as just explained with the S-clasp.) Then take your chain nose pliers and pull the loop closed securing one side of the clasp.
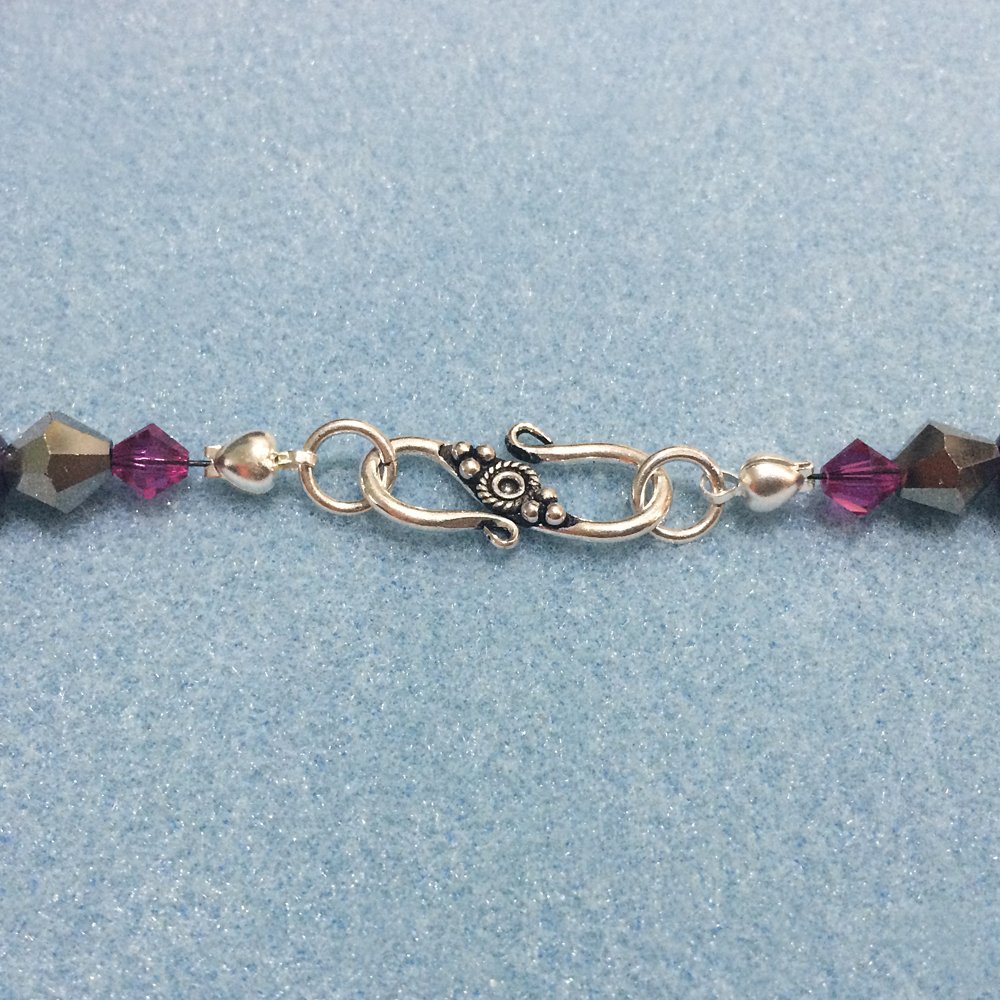 Repeat this process on the other side completing your necklace.
There are no products to list in this category.