-
Your shopping cart is empty!
MENU
Your shopping cart is empty!

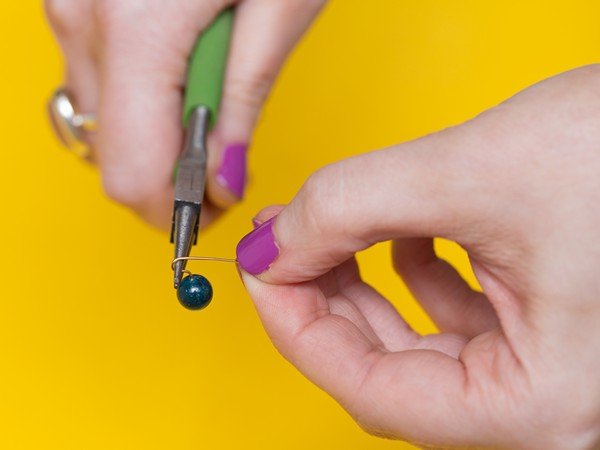
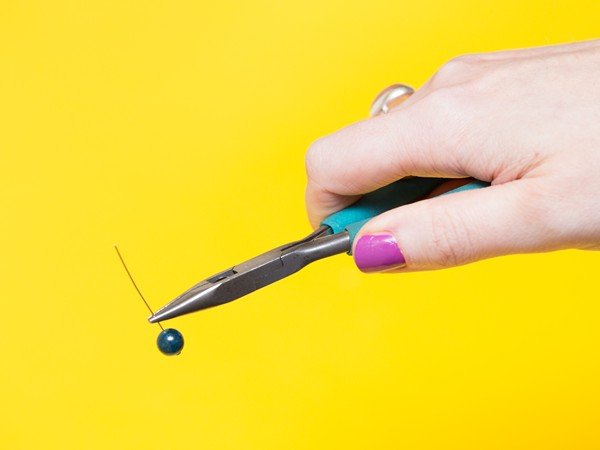 Slip the bead onto the headpin then use your round nose pliers to grasp it approximately 2mm above the top of the bead.
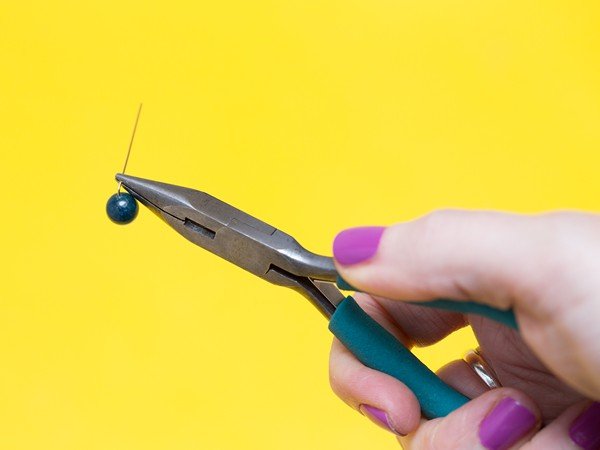 Use your chain nose pliers to bend the wire to form a 90 degree angle.
 Grasp the headpin with the round nose pliers just above the bend, then use your finger to pull the wire around the top jaw of the pliers creating a loop.
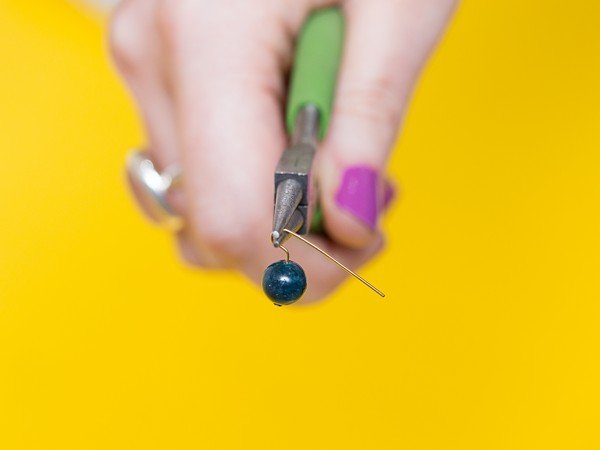 Adjust your pliers so that the loop you just created fits on the bottom jaw (the top of the loop will be grasped between the two jaws).
 Pull the wire around the bottom jaw until it overlaps the stem.
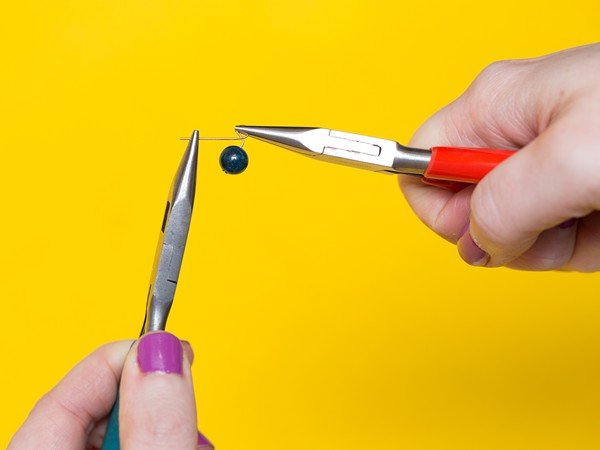 Now take your chain nose pliers and grip across the loop.
 Now take your other pair of chain nose pliers and grip the tail of the headpin. Then start to wrap the wire around the stem, keeping a good tension so your wraps remain neat. Keep going until there is no visible wire left or until you reach the top of the bead.
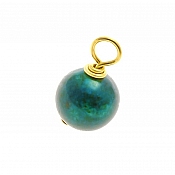
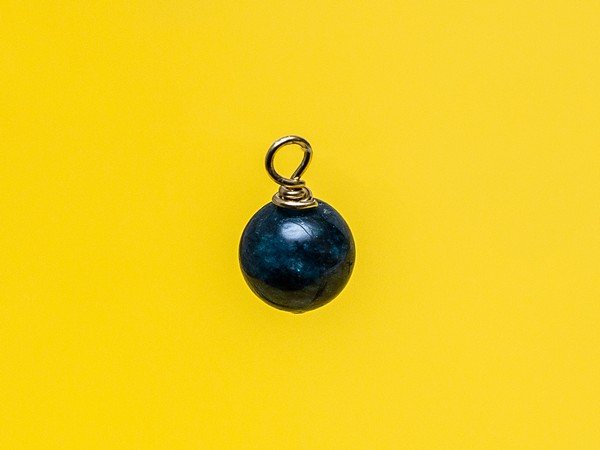 That's it! Your bead is now a charm and is ready to attach to ear wires, Bracelets, necklaces and more!
If you found this guide helpful, check out our other beading guides and tutorials here.
There are no products to list in this category.