-
Your shopping cart is empty!
MENU
Your shopping cart is empty!
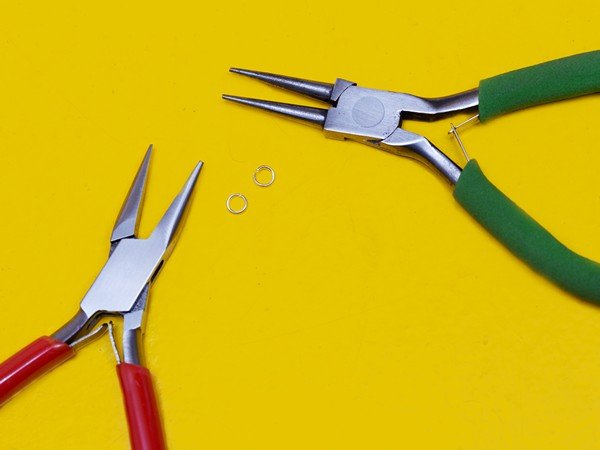
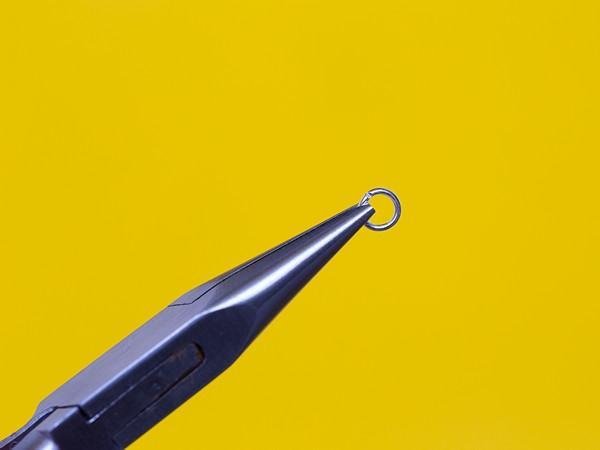
 Take your two small sets of pliers and grip the jump ring either side of the split (try to get as close as you can to the ends of the wire without your pliers touching).
.jpg) Pull the pliers apart in opposite directions so that one hand comes towards you and the other moves away. Only pull apart as far as is needed depending on the size of the chain or finding you are attaching it to. This will prevent any unnecessary distortion of the shape.
Pull the pliers apart in opposite directions so that one hand comes towards you and the other moves away. Only pull apart as far as is needed depending on the size of the chain or finding you are attaching it to. This will prevent any unnecessary distortion of the shape.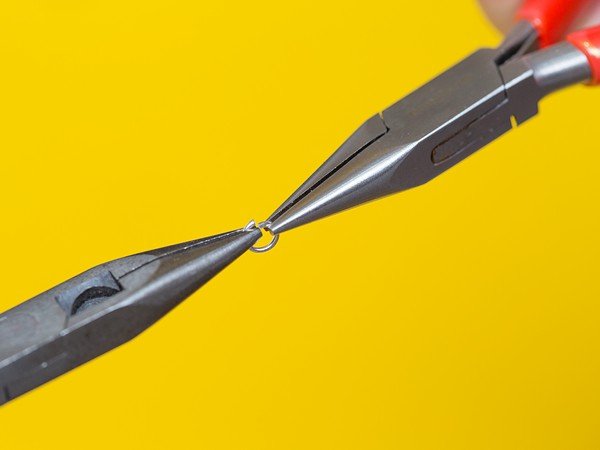 Once you have connected the jump ring to your desired component, grip it either side of the split with your pliers as before and twist back together taking care not to pull outwards or the ends of the ring will not meet.
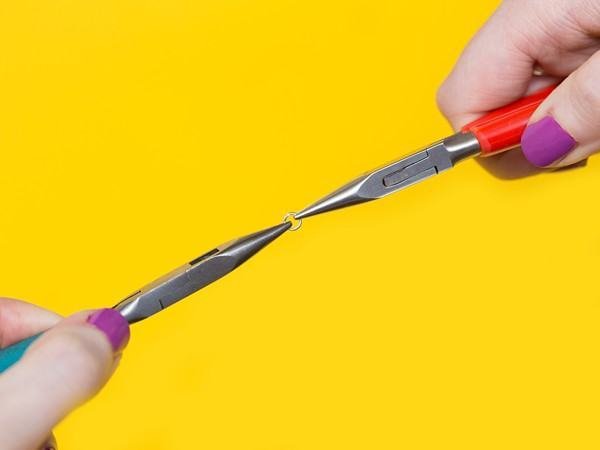
If you use this method every time you will achieve perfect results and less wastage of your precious findings.


Leave a Comment