-
Your shopping cart is empty!
MENU
Your shopping cart is empty!
Hello!
I hope you're all feeling the Christmas spirit by now...not long to go! I still haven't found the time to put up my tree yet (oops :0). It's happening this week....and I'll have some lovely beaded baubles to sit on it too, which is what I'm going to have a little chat about today.
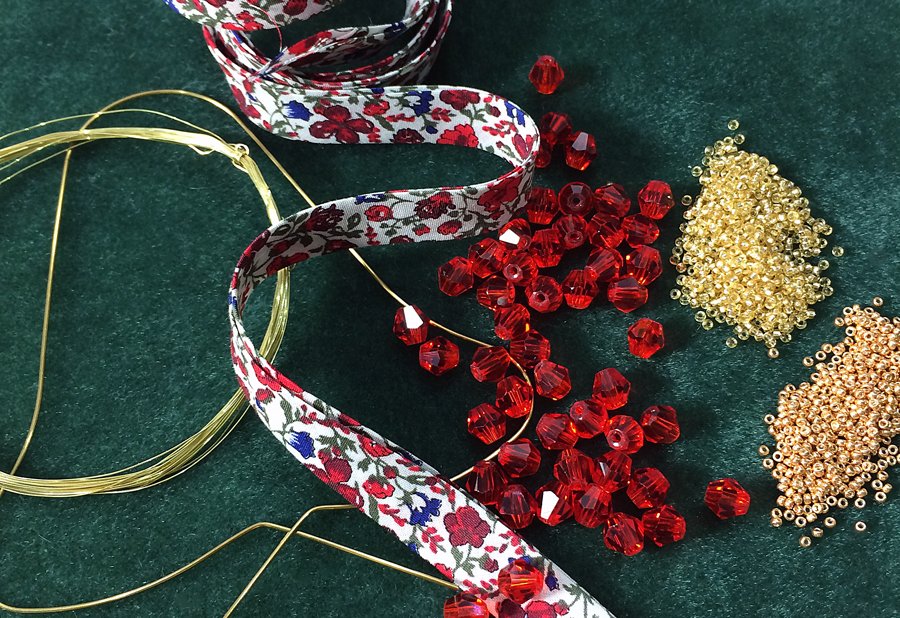
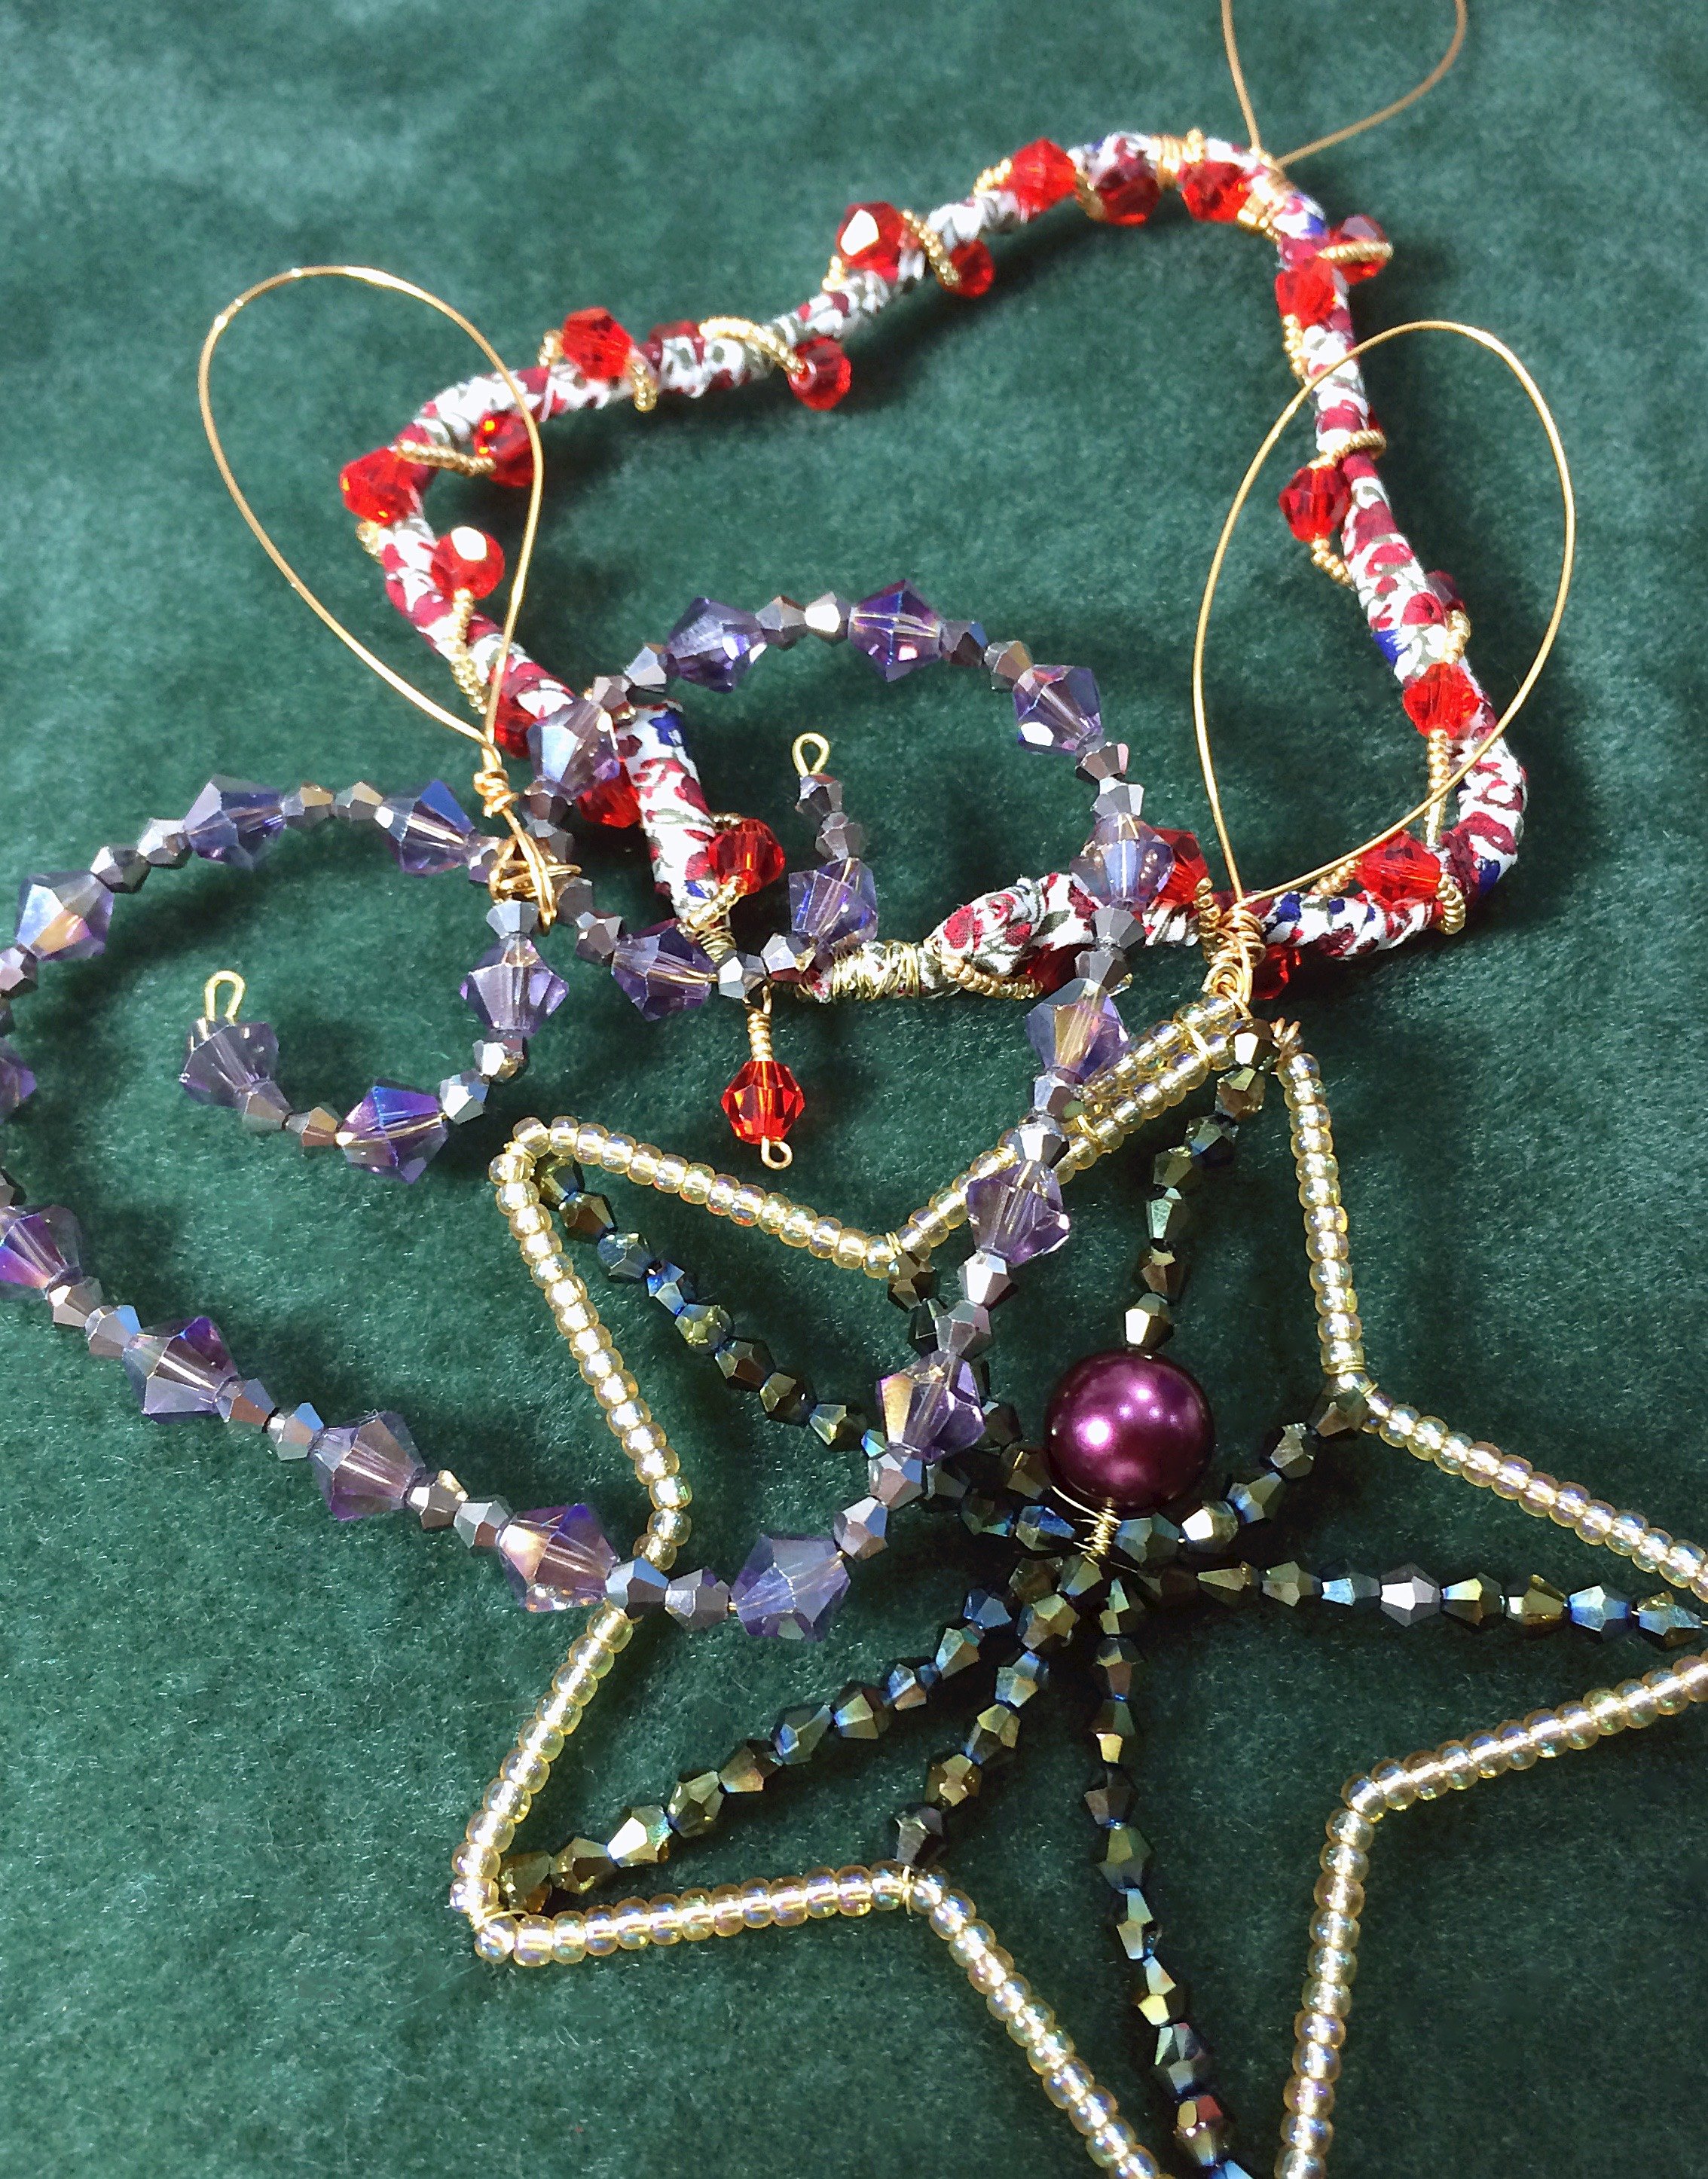
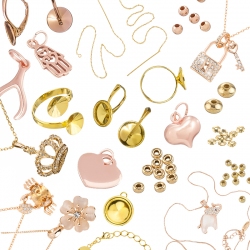
We recently acquired some lovely Holiday Wire Form Sets by Beadsmith which includes three festive Shapes measuring roughly 85mm x 75mm: A star, a bell and a Heart. They're made from tough Gold coloured wire and the set comes with 6 metres of 0.25mm Brass craft wire for adding extra dimension to your decorations. All you need to do is load up your beads in your desired pattern then loop the ends of the shapes over with round nose Pliers to secure them in place. The 0.25mm wire can be wrapped around the edges, beaded then stretched across the wire forms to add extra sparkle to your decorations.
I must say I had lots of fun making these and they are relatively quick and easy to do. You do need to be careful which beads you set your heart on using though as my original plan was to cover the star shape in 4mm Chinese Crystal bicones but they wouldn't fit around the tight bends. For the star shape, it's best to work with smaller beads. I used some of our gorgeous Size 6 (4mm) Silver Lined Gold Miyuki Seed beads for the edges then used the Metallic Green Chinese Crystal Bicones with the fine wire to fill in the centre.
The heart shape was much more forgiving and allowed me to thread on sparkling 4mm Metallic Silver and 8mm Amethyst Chinese Crystal Bicones. Finally, for the bell shape I decided to cover it in some of our Liberty of London Bias Ribbon in Helena's Meadow print then wrap some of the 0.25mm brass wire over the top which had been pre-beaded with Size 15 Galvanized Yellow Gold/Silver Lined Gold Miyuki Seed Beads and Red Chinese Crystal Bicones.
Here's how I made the Liberty Bell.....
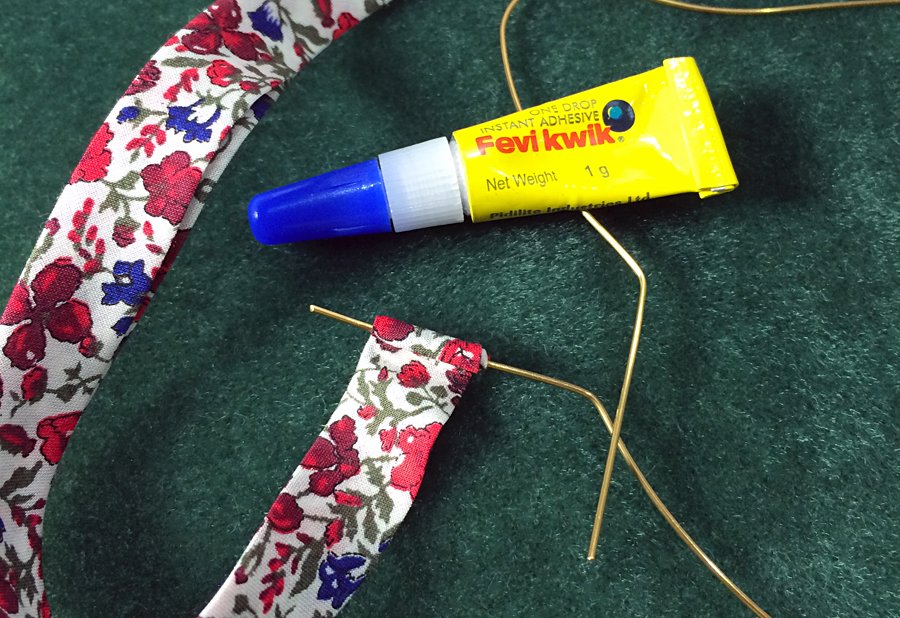
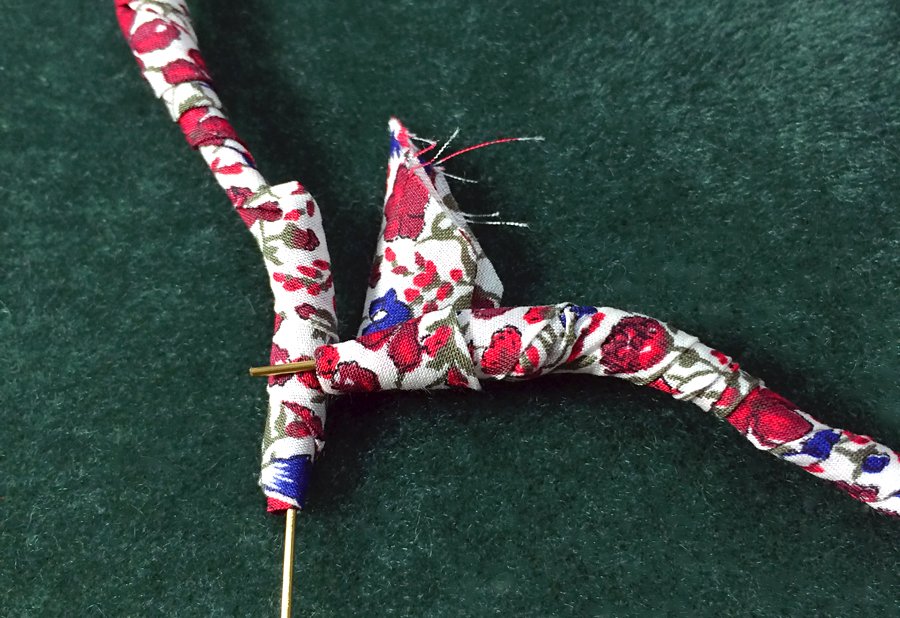
First of all I coated one end of the wire bell with Fevi Kwik glue around a cm from the tip then folded one end of the Ribbon over as tightly as possible...taking extra care not to glue my fingers to the fabric...or together which I have successfully done many times. Hold this tight until the ribbon is secured to the wire.
When the glue was dry I proceeded to wrap the ribbon around the rest of the wire form until I reached the other end, agian leaving around a centimetre of spare wire for looping round. Trim off any excess fabric and dab a little glue across the end before carefully sticking down.
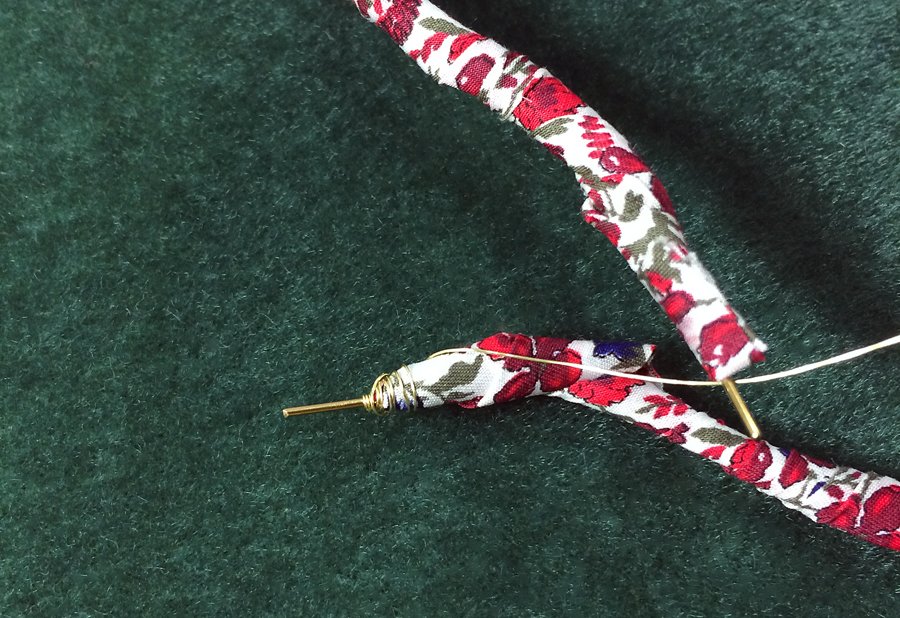
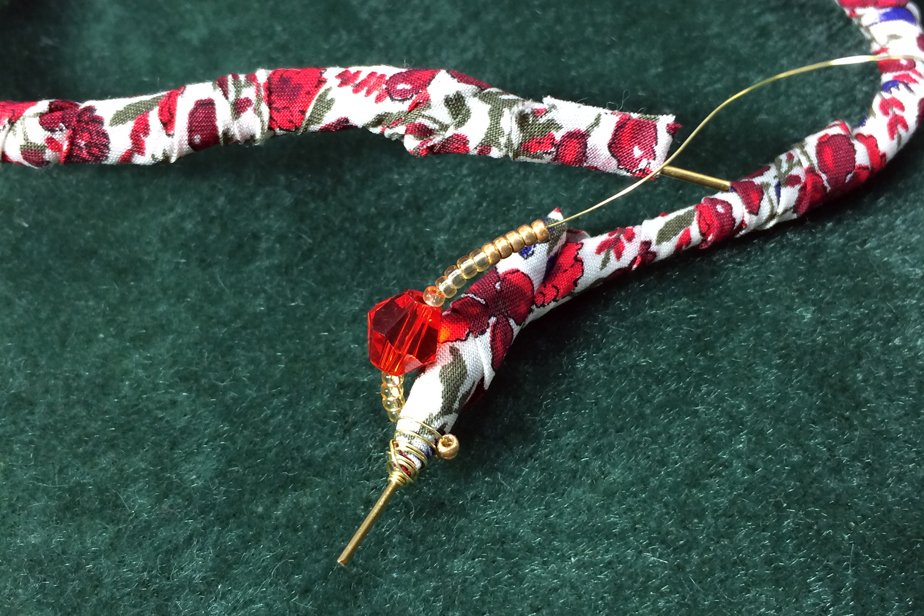
Next I took some of the 0.25mm brass wire and wrapped approximately 5cm around the fabric on one end to secure it.
I then threaded on 5 x Galvanized Yellow Gold Seed Beads, 5 x Silver Lined Gold Seed Beads, 1 x Red Chinese Crystal Bicone, then 5 more Silver Lined Gold Seed Beads, 5 more Galvanized Yellow Gold Seed Beads and so on until I had beaded a good 45cm of wire.
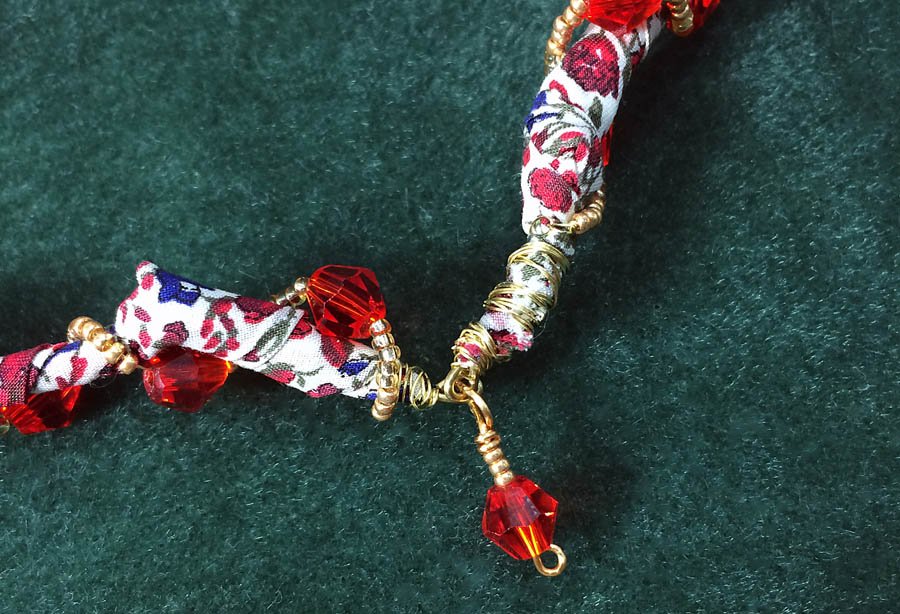
Wrap the beaded wire around the form in a spiral pattern leaving 1.5-2cm between each spiral so the Liberty fabric shows through. When I reached the other end I wrapped approximately 5cm of wire around the end to secure it in place as I did with the previous side, then looped over the ends of the wire form with my round nose pliers. You can use a little wire to secure these two loops together or you can create a little wire wrapped crystal dangle like I did here. If you're new to wire wrapping see our guide on how to create a wire wrapped headpin loop here.
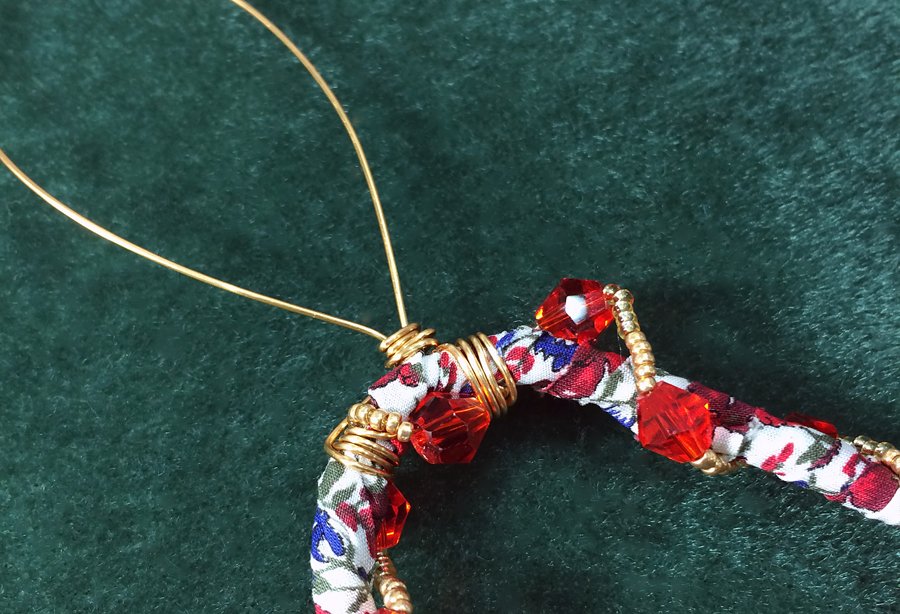
To make the loop at the top for hanging I used 0.8mm Gilt on Copper Craft Wire to make 4 wraps on one side of the crystal at the top of the bell, then bending upwards creating a loop, wrapping a few times around the base of the loop and finally doing 4 more wraps on the other side of the crystal. Trim off any excess wire and tuck in with chain nose pliers.
Admire your handy work.....
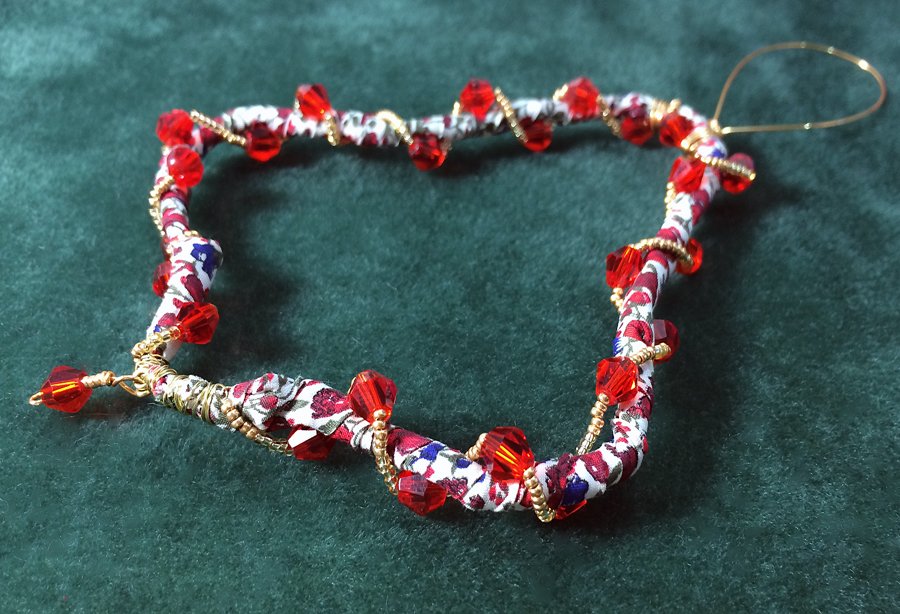
All three wire forms beaded and ready for hanging....
Have you made any beaded Christmas decorations? Has this inspired you to give a few last minute projects a try? :D
I hope you're all more ready for Christmas than I am, haha! Have a wonderful time with friends and family....Happy Holidays everyone!
Until next time,
Emma xo


Leave a Comment