-
Your shopping cart is empty!
MENU
Your shopping cart is empty!
Hey everyone!
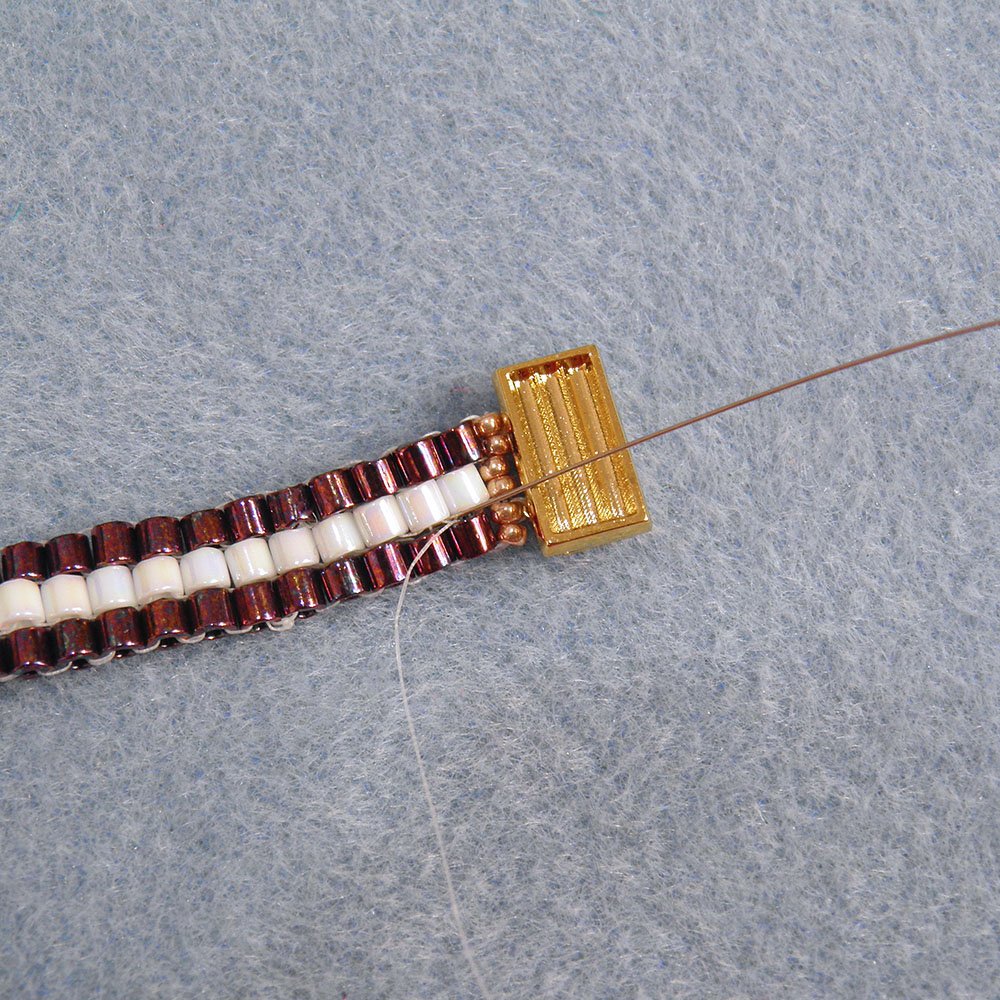
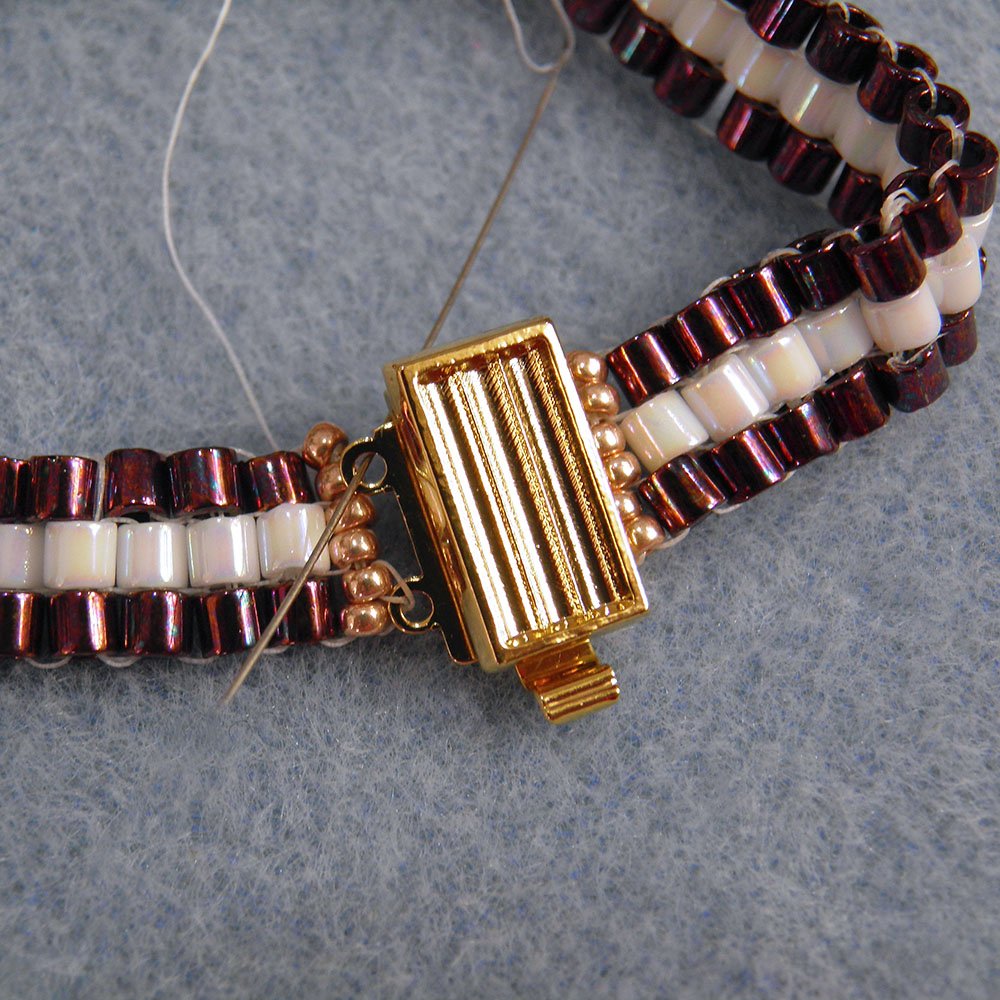
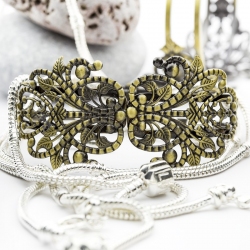
The tutorial below takes you through attaching one of our awesome new two hole Clasps for Miyuki Delica Seed beads. The clasps are available with 3, 4, 5 and six holes to accomodate different sized bead projects. They have grooves at the top for you to glue in 3 rows of size 11 Delica seed beads, adding the perfect finishing touch.
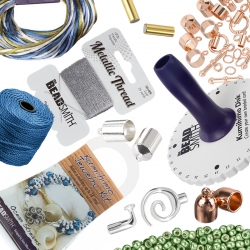
Things you will need:
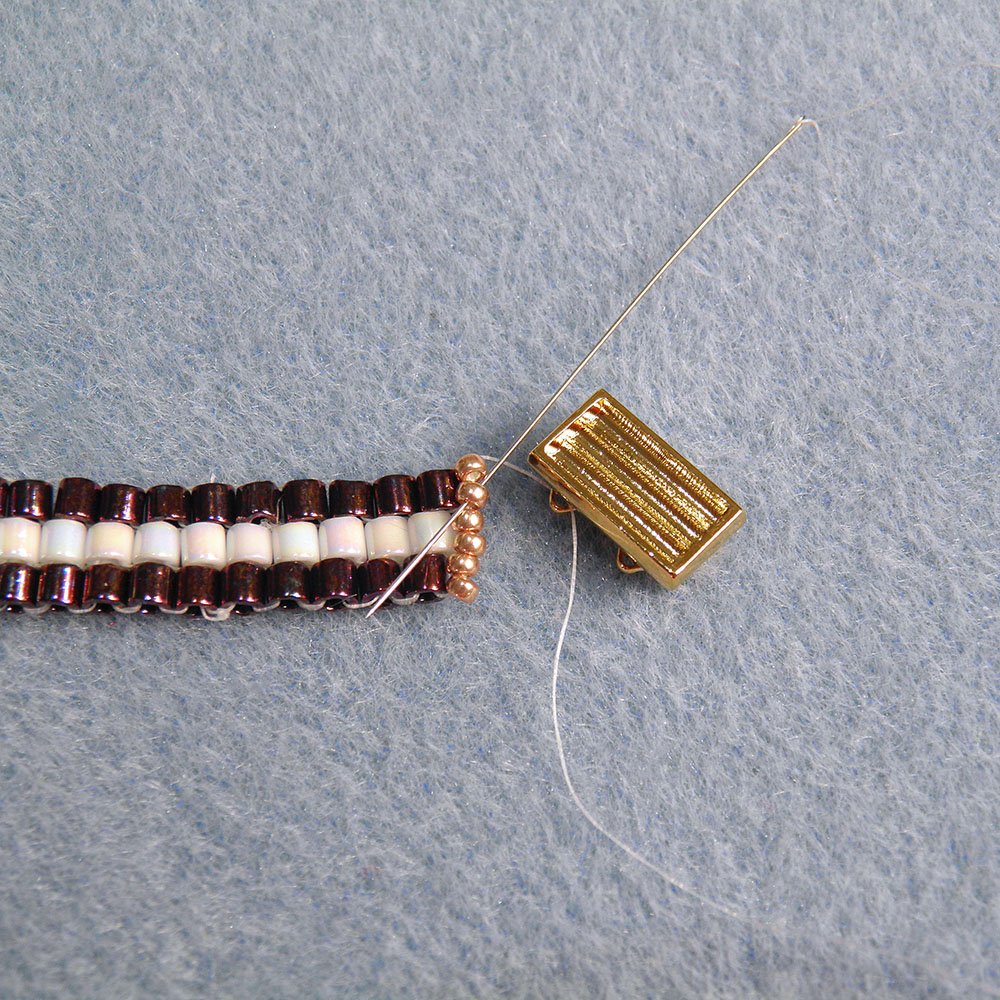
Step 1
Make sure your needle and thread is coming out through the last bead on your last row, then take it through the first loop on the clasp. There are 6 x size 15/0 round seed beads on my row here but if you have a few more or less, just use your judgement as to which bead you need to go through to line up with the loops on the clasp.
Step 2
Take the needle through the second bead on your row then back through the loop on the clasp.
Step 3
Go back through the second bead and come out of the fourth bead.
Step 4
Take the needle through the second loop on the clasp.

Step 5
Now go through the fifth bead on the row.

Step 6
Then take it back through the loop again. Going through twice just makes sure it's extra secure.

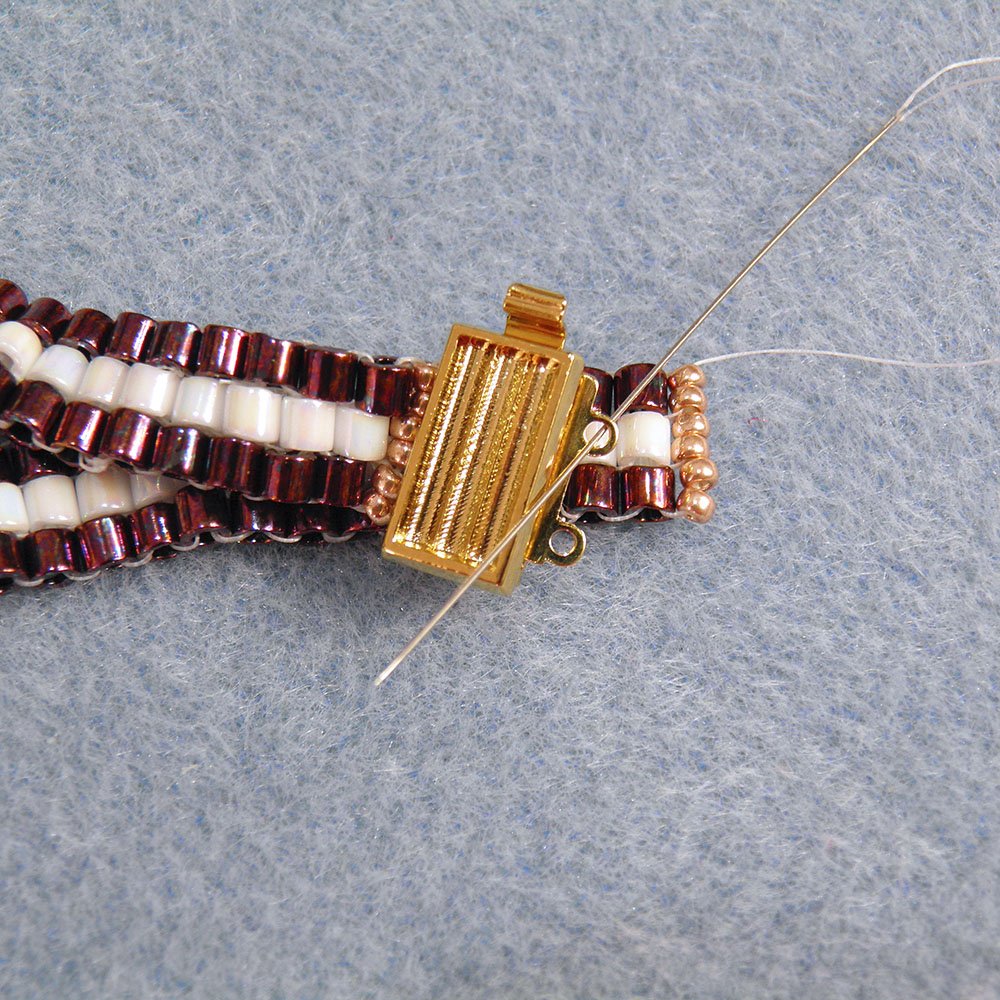
Step 7
Go back through the fifth bead and come out of the last bead on the row.
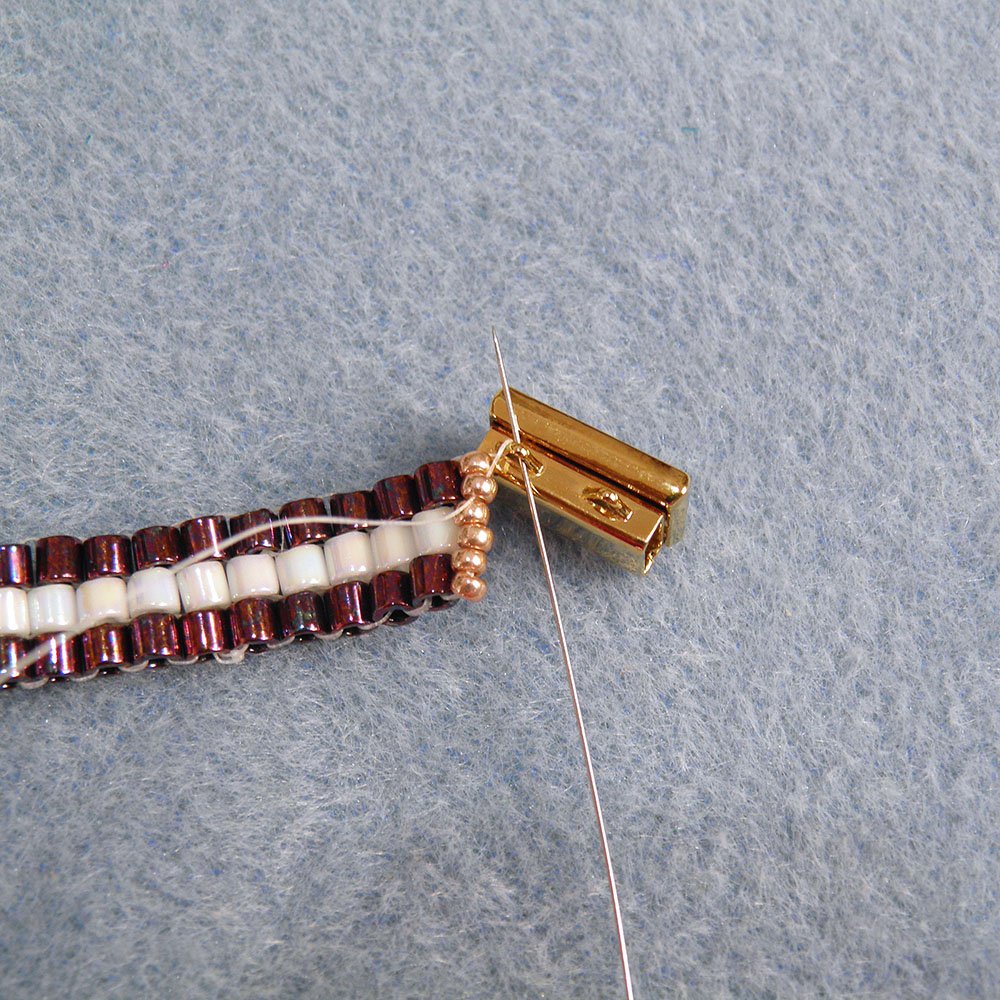
Step 8
To finish off, take the needle through the first bead on your second row (in this example through the first Purple Delica). We're just going to create a couple of half hitch knots then tie off your thread. To do this, take your needle underneath a thread in your weave, come back out and then before you pull tight, thread the needle through the loop created. Pull tight to secure. Do this one more time then cut the thread.
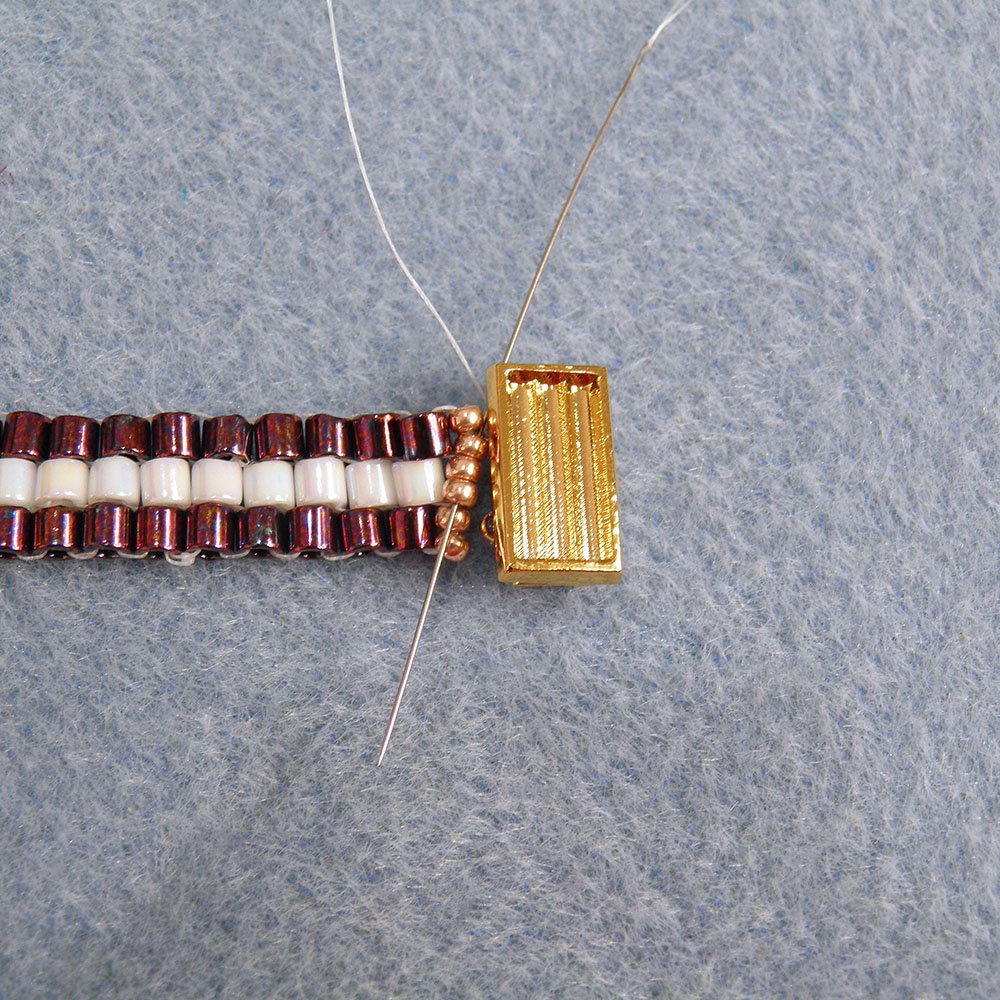
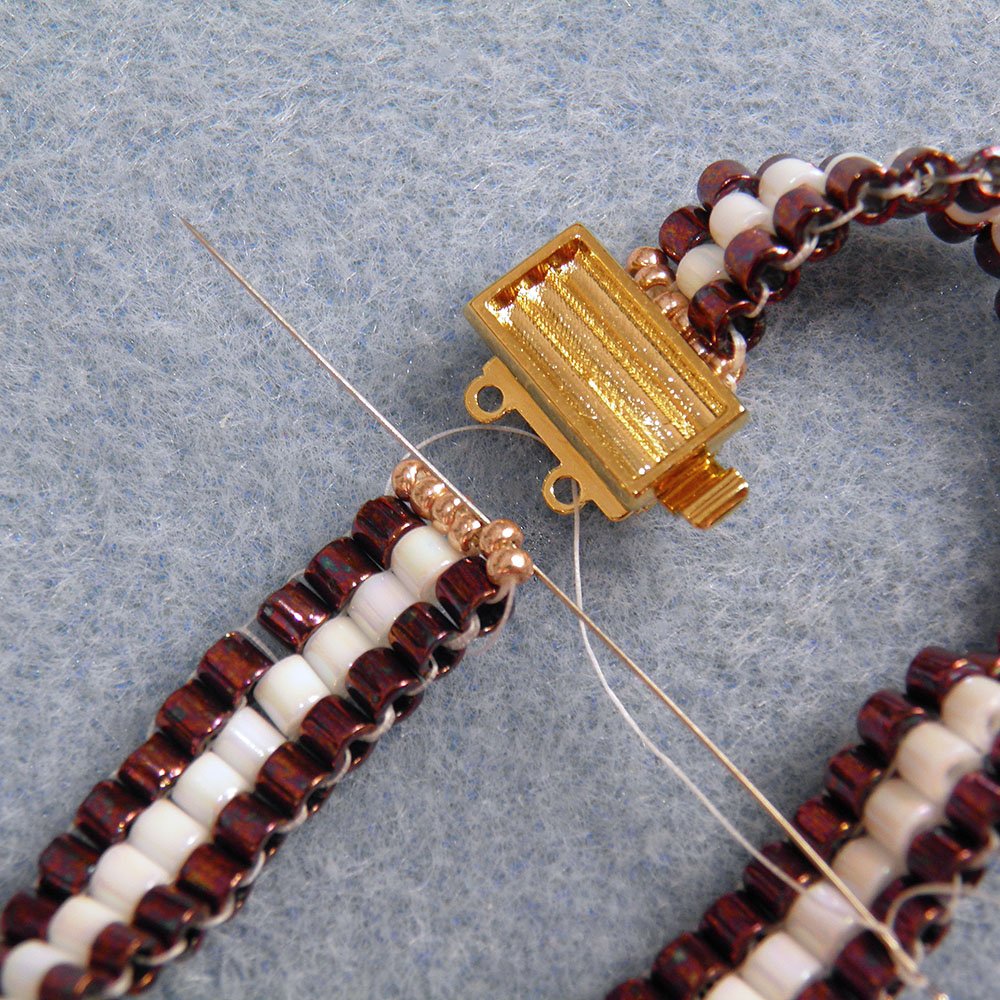
Step 9
Thread your needle onto the excess thread on the other side of your design, and as before make sure your thread is coming out of the last bead on the row. Take the thread through the first loop on the other side of your clasp.
Step 10
Then go through the second bead on the row.
Step 11
Go back through the loop again.
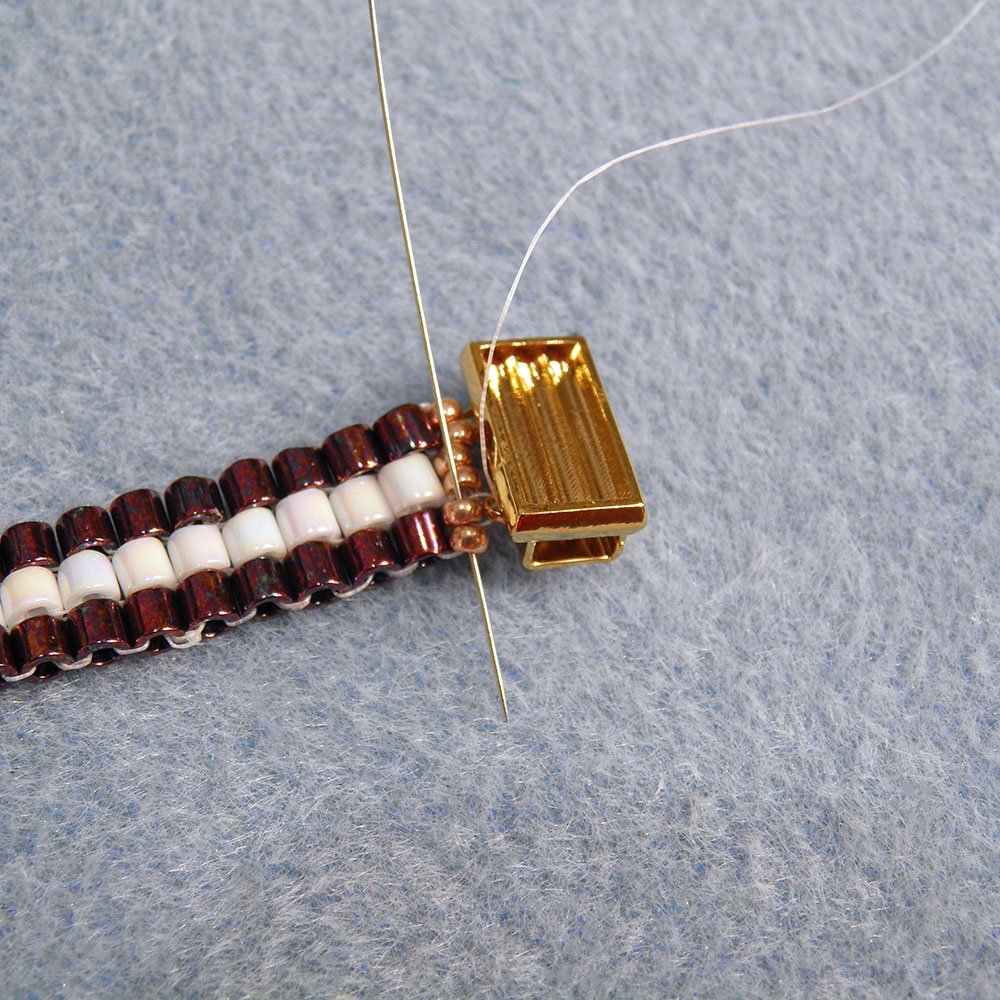
Step 12
Then go back through the second bead and out through the fifth bead.

Step 13
Go through the second loop on your clasp.
Step 14
Then through the fifth bead and out through the last bead on the row.

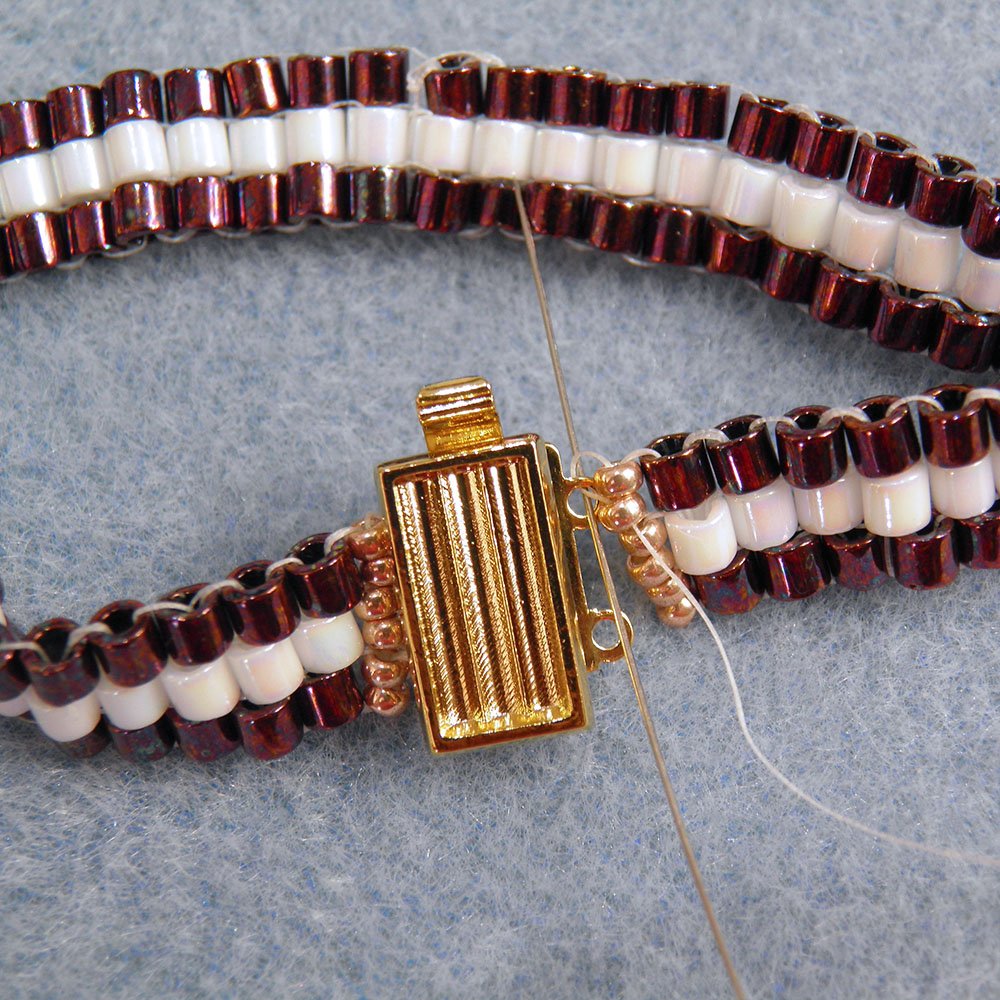
Step 15
As before, take the needle through a couple of the beads on the second row of beading and stitch a couple of half hitch knots to secure your thread. Trim off any excess.
Step 16
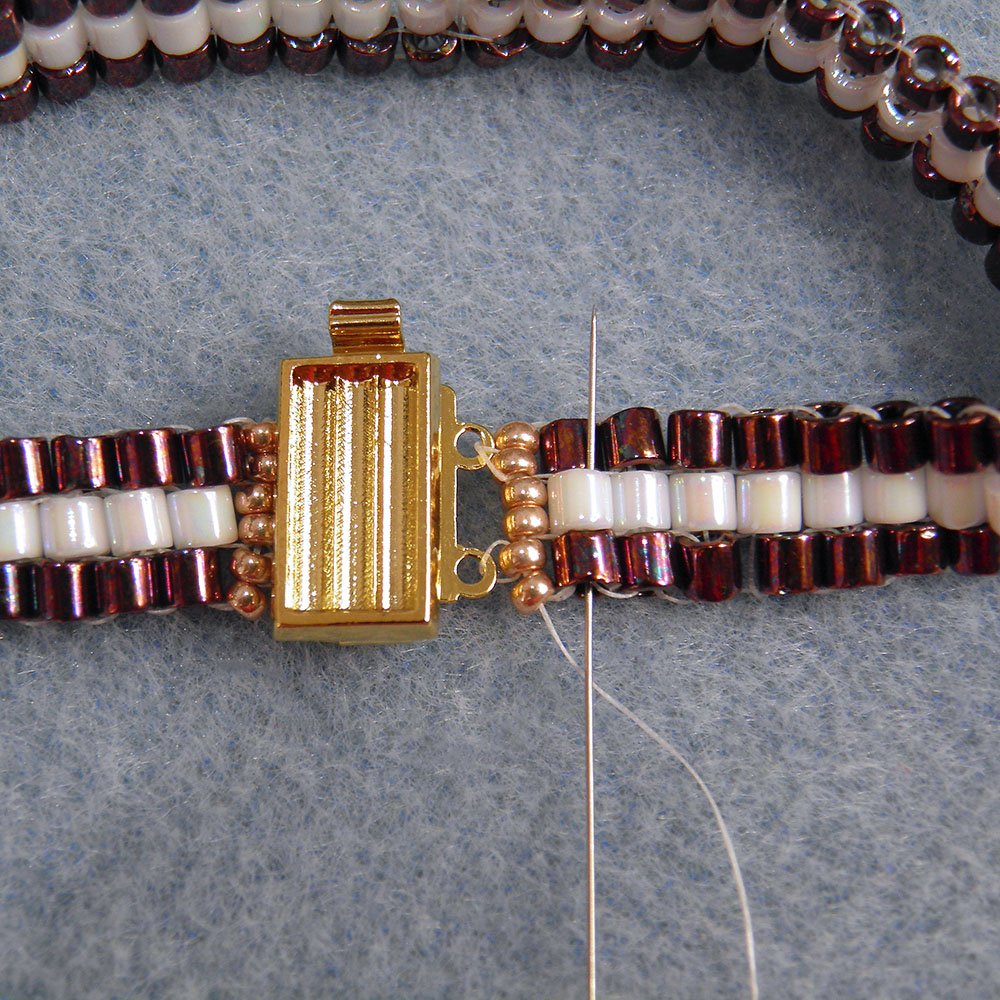
Line the three grooves on the clasp with a tiny amount of jewellery glue and fill with the size 11 Miyuki Delica beads of your choice to finish off your design!

If you're new to seed beading, please check out our Seed Bead Guides to get you started!
See you next time,
Emma xo


Leave a Comment