-
Your shopping cart is empty!
MENU
Your shopping cart is empty!
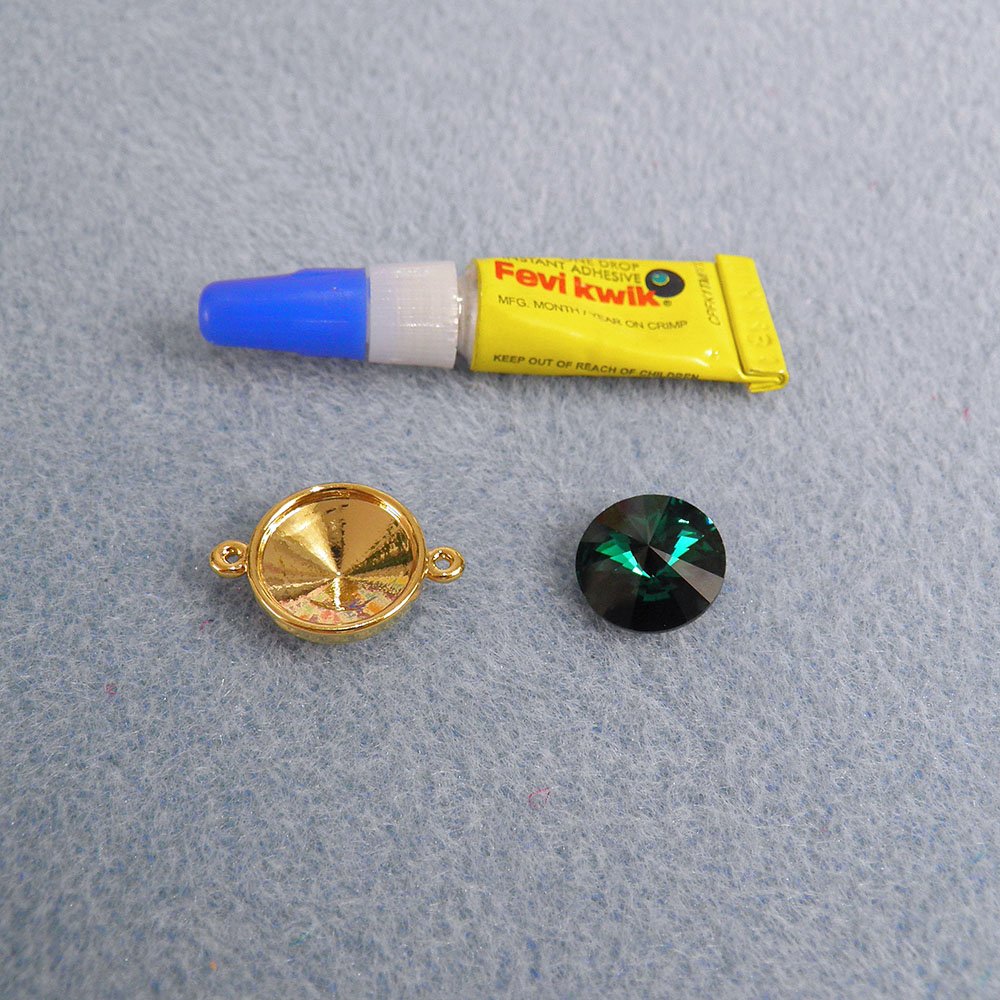

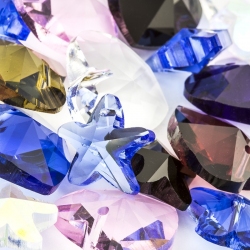
 Pick up the Rivoli with the stone setting tweezers and carefully position it in the centre of the setting making sure you don't get any glue on the top of the Rivoli. Once it's in place and you're sure no glue has escaped the edges, gently push down with your finger to finish.
 You can now connect this to a chain with both sides of the setting and use it as a connector, or add a Jump Ring to one loop and a wire wrapped charm dangle to the other to create a pendant drop. Take a look at our beautiful Emerald Isle Bracelet and Violet Bouquet Earrings to see finished designs using Rivoli crystals. Free step by step instructions included!


Leave a Comment